
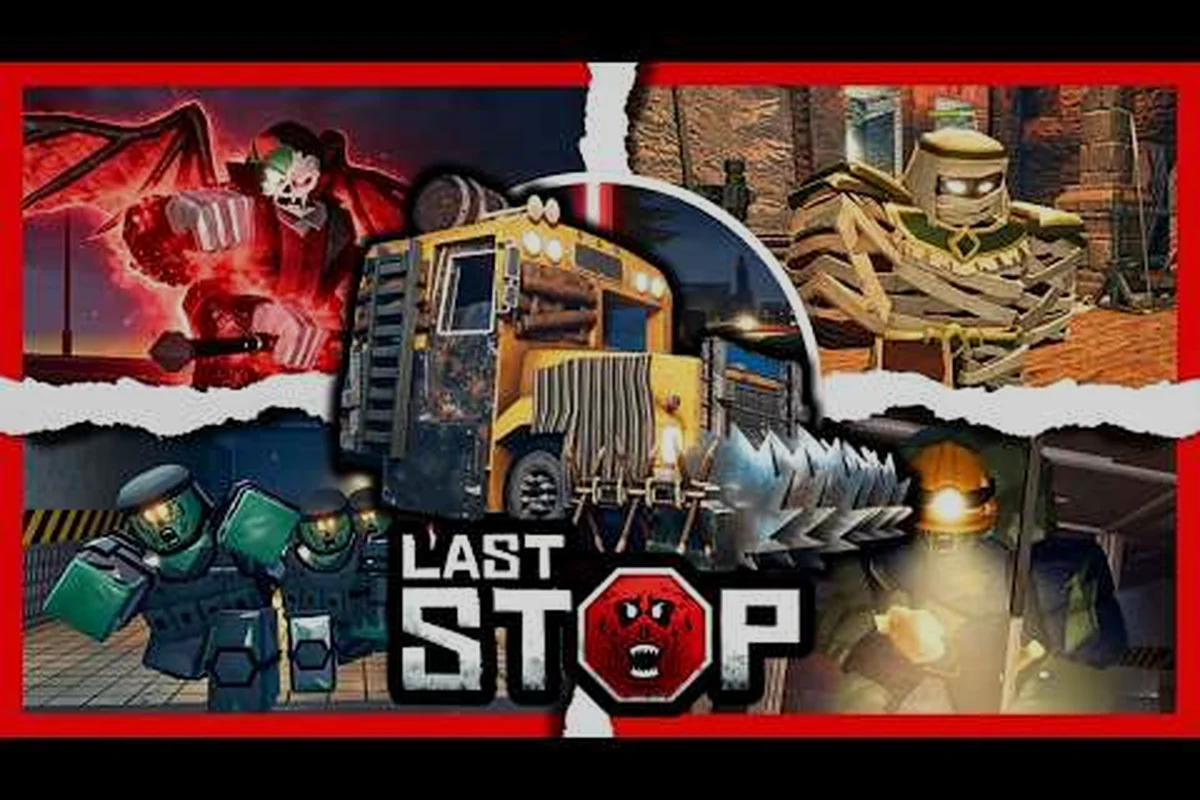
Running Last Stop solo changes the whole calculus: vault loss on death becomes total, fuel stops can no longer be split, and boss fights demand kiting instead of focus fire. This guide covers how to reach the last stop alone, leg by leg, with the route priorities, resource math, and tactical shifts that let a single survivor finish the 100,000-mile road.
Why Going Solo Changes Everything in Last Stop
Running Last Stop without a crew flips the entire survival script on its head. The game is a Roblox zombie-survival road trip built around a 100,000-mile route, escalating boss waves, and a bus that doubles as your home base. Community-reported numbers from September 2026 put the title above 21 million visits and roughly 239,000 favorites, with servers often hosting 20,000+ concurrent players — meaning queues can be brutal when you try to squad up. Playing solo means you control your own pace, but it also means every mechanic has to be handled with fewer hands on deck.
Solo play is not a watered-down version of co-op. The Vault, the bus, the loot economy, and the boss progression all assume a team of scavengers — when you strip that team away, your priorities shift. Knowing how to reach the last stop on your own requires a different reading of the same loop. This Last Stop solo guide walks through the route, the resources, and the tactical shifts you need to make to finish the run alone.
Before diving into specifics, it helps to map exactly which systems punish solo survivors hardest: Vault loss on death jumps from a shared penalty to a full maximum wipe, fuel stops can no longer be split with a teammate refilling the bus, and boss fights like the 20,000-HP checkpoint boss demands solo burst windows built around kiting rather than focus fire. The table below distills those six core trade-offs so you can plan every leg of the 100,000-mile route accordingly.
| Factor | Squad Play | Solo Play |
|---|---|---|
| Scavenging speed | Split across multiple buildings | One building at a time, longer exposure |
| Boss damage output | Shared focus fire | Solo burst windows, kiting required |
| Fuel management | Pooled resources | Every jerrycan matters |
| Night survival | Watch rotations | Sleeping bag / fortified bus |
| Vault loss on death | Split between teammates | Full personal risk |
| Money accumulation | Faster sells, shared buys | Slower cash flow, tighter priorities |
The rest of this guide is built around those trade-offs, with an emphasis on efficiency, route selection, and the moments where solo players should either press on or pull back. Each later section treats one slice of the 100,000-mile loop — fuel budgeting across scattered gas stations, kiting patterns for the checkpoint boss's knockback swings, and Vault recovery windows after a maximum wipe — so the trade-offs above translate into concrete decisions mile by mile, not abstract advice. Use the table as your reference card, and treat the tactical guidance that follows as the operational playbook for closing the gap between your current loadout and the final stop's boss gate.
The Solo Route Map: Which Legs to Push and Which to Skip
The road to the final stop is not a straight line — it is a series of escalating legs, each gated by a boss and each carrying a risk profile that solo players should weigh carefully. Community walkthroughs consistently frame the route as an escalating chain where looting, bus upgrades, and boss wins each unlock the next stretch. The full walkthrough angle is covered in our Last Stop solo walkthrough primer, but the short version is that not every leg is worth running on your first attempt.
Leg Tiers and Solo Risk
Each leg of the journey has a threat level that scales with the boss at the end of it. Early legs are forgiving, mid legs introduce mechanics that punish solo mistakes, and late legs demand near-perfect execution. Here is a practical read of how to sequence your solo push:
| Leg Tier | Boss Difficulty | Solo Recommendation | Key Reason |
|---|---|---|---|
| Legs 1–3 | Easy | Push aggressively | Cheap deaths, fast loot, learn mechanics |
| Legs 4–6 | Medium | Selective push | Skip nights, stockpile fuel first |
| Legs 7–9 | Hard | Skip when possible | Punishing boss enrage timers |
| Legs 10+ | Brutal | All-in commitment | Bus upgrades must be maxed |
The takeaway is simple: solo players should treat the early game as a funding phase, the mid game as a gearing phase, and the late game as a single committed run. Skipping a leg means losing the loot inside it, but it also means skipping the boss at the end — and for solo players, that trade is often worth it when the alternative is a 20-minute respawn penalty.
When to Skip a Leg Entirely
Skip conditions are easy to codify. If your bus is below a safe fuel level, your armor is still the starter tier, and the boss for the next leg has an enrage timer under three minutes, the math rarely works out for solo play. Skipping costs you the leg's loot chest but preserves your Vault stack and lets you re-enter that leg with better gear later. Players on the community walkthrough scene frequently rerun skipped legs once they have a maxed engine and a stockpile of meds.
Building the Solo Bus: Upgrades That Actually Matter
The bus is your lifeline, and in solo play it is also your only safe space. Every upgrade you pour money into should be evaluated against a single question: does this help me survive the next boss alone, or is it nice-to-have padding? Community-tested priorities lean hard toward fuel capacity, armor plating, and storage over cosmetic or speed upgrades. A YouTube guide by Cocajola on the full Last Stop loop emphasizes the same early habits: buy the starter sword, keep a fuel chest by the gas tank, and stash a spare tire for blowouts before spending on anything flashy.
Upgrade Priority Table
| Upgrade | Solo Priority | Why It Matters |
|---|---|---|
| Fuel Tank Capacity | Critical | Every run burns fuel; solo has no resupply |
| Armor Plating | Critical | One-shot protection during boss enrage |
| Storage Chests | High | Carry more loot between stops |
| Tire Stockpile | High | Blowouts strand you in the open |
| Sleeping Bag Slot | High | Skip dangerous nights, fast respawn |
| Engine Power | Medium | Faster travel, but not survival-critical |
| Cosmetic Skins | Low | Zero combat value |
| Horn / Sound FX | Low | Fun, not functional |
The starter sword is the single most important early purchase because it stops you from burning through your limited ammo on basic zombies. After that, fuel storage is the next make-or-break upgrade — solo players cannot afford to run dry in the middle of a leg with no teammate to siphon from.
Inventory and Storage Tips for Solo Runs
Your inventory is tighter than you think. Solo players should treat the bus as a warehouse and the inventory as a hot bar. The mobile side of this is covered well in our Last Stop mobile controls and inventory guide, but the core principle is the same across platforms: keep only what you need for the next two legs on your person, and rotate the rest to the bus chests. Crafting a sleeping bag early means you can skip the riskiest nights entirely, while a sack for selling zombie corpses turns dead enemies into a small but reliable income stream.
Boss Fights Without a Crew: The Solo Combat Loop
Bosses are the gates between legs, and they are where most solo runs end. The combat loop in solo is fundamentally about burst windows and kiting — you do not have the health pool or the damage output to face-tank, so every encounter is a sequence of damage phases followed by repositioning. The game places up to 25 players per server, so most solo players are actually fighting alongside strangers who may or may not help, but you should not plan around them.
Boss Tier and Solo Tactic
| Boss Tier | Recommended Tactic | Common Mistake |
|---|---|---|
| Tier 1–2 | Face-tank with starter sword | Wasting ammo on adds |
| Tier 3–4 | Burst windows between boss tells | Standing in AoE markers |
| Tier 5–6 | Kite around bus, use choke points | Engaging in open ground |
| Tier 7+ | Solo burst + retreat cycles | Overcommitting during enrage |
The key mechanic solo players need to internalize is the boss enrage timer. Once enrage hits, the boss gains damage, speed, and frequently a new attack pattern. Solo players who try to brute-force the enrage phase almost always lose — the play is to burn the boss down to the enrage threshold, then retreat to the bus, regen, and only re-engage when the boss is below low health. This pattern feels slow, but it is dramatically more reliable than full aggression.
Positioning, Choke Points, and the Bus as a Shield
Your bus is not just transportation — it is a portable fortification. Position the bus between you and the boss during the opening phase, and use it as cover during the enrage retreat. Many solo players make the mistake of parking the bus in the open and then trying to kite around open ground, which leaves them exposed from multiple angles. Pull the bus into a corner of the map, near a building wall, so the boss has to come through a narrow lane to reach you.
Money, Fuel, and the Final Run: Resource Math for Solo Players
The endgame of any solo run is a numbers game. You need enough fuel to make the final leg, enough money to keep the bus operational, and enough meds to survive the last boss. None of these are negotiable — if you run out of any one, the run is over. This is also where solo play diverges most sharply from squad play: there is no teammate to split costs with, and there is no second pair of hands to scavenge while you refuel.
Resource Targets Before the Final Push
| Resource | Minimum to Attempt Final Leg | Recommended Buffer |
|---|---|---|
| Fuel | A near-full tank | Full tank + 2 jerrycans |
| Money | Enough for 1 bus repair | Enough for 2 repairs + 1 resupply |
| Meds | 5 healing items | 8+ healing items |
| Ammo | Half magazine of best gun | Full magazine + melee backup |
| Armor | Tier 3 plating | Tier 4 or higher |
If you hit the minimum on all five, the run is technically winnable. If you hit the recommended buffer on all five, the run is comfortable. The community data point worth remembering: solo players who reach the final leg with the buffer loadout finish the run most of the time, while solo players who push with only the minimum finish far less reliably. That gap is the difference between a clean clear and a frustrating reset.
The Role of the Vault and Why Solo Deaths Hurt More
The Vault is your insurance against death, but in solo play that insurance is much thinner. When you die in a squad, the Vault penalty is split across teammates, and the bus respawns close to the action. When you die solo, you lose all of the personal gear you were carrying, you respawn far from the boss, and you often have to spend the next 20 minutes catching up. This is exactly why the upgrade table earlier puts the Vault-adjacent mechanics — sleeping bag, sack, starter sword — so high. They reduce the chance you die in the first place, which is the only real protection the Vault gives.
Mobile-Specific Tips for the Solo Runner
Mobile play introduces a layer of friction that PC players do not have to think about. Touch controls are slower, the inventory screen takes up half the screen, and the action density in a boss fight is higher than the mobile UI is really designed for. None of this makes mobile solo play impossible — the community is full of successful mobile clears — but it does mean your priorities shift slightly.
Mobile vs PC Solo Differences
| Factor | PC | Mobile |
|---|---|---|
| Aim precision | Pixel-accurate | Drag-joystick approximation |
| Inventory management | Keyboard hotkeys | Tap-and-hold menus |
| Multi-tasking during fights | Easy (mouse + keys) | Hard (one thumb busy) |
| Recommended play style | Aggressive burst | Conservative kiting |
| Best upgrade for solo | Damage output | Storage and regen |
If you are on mobile, lean even harder into the kiting playstyle. The aggressive burst windows that work fine on PC are much harder to execute on a phone, and a single missed tap can mean a death. Conservative kiting — using the bus as cover, retreating during enrage, and only re-engaging when the boss is in a clear attack window — is dramatically more reliable on touch controls. A broader overview of the mobile UI is in our Last Stop mobile guide, which is worth reading before you commit to a solo mobile run.
Touch Control Setup That Actually Works
Two tips from the community: rebind the most-used actions to the easiest thumb positions, and turn off the on-screen joystick auto-hide so you are not fumbling for it during a boss tell. Beyond that, the same upgrade priorities from the earlier table apply — mobile solo runs still live or die on fuel capacity and armor plating.
When to Call in Help: The Strategic Use of Bus Co-op
Solo play does not have to mean completely solo. Last Stop lets you hire bus help from other players at certain stops, and knowing when to spend the money on temporary crew is one of the highest-leverage decisions in the game. The general rule: hire for boss fights, not for scavenging. Scavenging is something you can do alone with patience, but a tough boss with a tight enrage timer is often the difference between a clear and a reset.
Help-Hire Decision Matrix
| Situation | Hire Help? | Reason |
|---|---|---|
| Easy boss (Tier 1–3) | No | Solo burst is faster than waiting for crew |
| Medium boss (Tier 4–6) | Maybe | Hire if your meds are low |
| Hard boss (Tier 7+) | Yes | Burst windows too tight to solo reliably |
| Scavenging a leg | No | Solo is faster, no split loot |
| Night defense | No | Sleeping bag is cheaper than hiring |
| Final boss | Strongly recommended | One mistake ends the run |
The bus help system is essentially a paid boost. Use it like a boost — for the moments that matter most, not as a crutch for routine play. Spending your money on a hired crew for an easy boss is a leak that compounds across runs, while saving that money for the final boss is the difference between a clear and another reset.
The Solo Runner Final Checklist
Before you start your next solo run in Last Stop, run through this condensed checklist in the order you'll actually encounter each phase — it mirrors the run loop from the first stop's merchant to the final leg's enrage, and skipping ahead is the most common way solo players bleed resources before they ever see the Tier 5 boss.
-
Buy the starter sword at the first stop before anything else.
-
Keep a fuel chest and at least one spare tire stocked before leaving any major stop.
-
Craft a sleeping bag as soon as you have the materials.
-
Keep a sack for selling zombie corpses to pad your money between big hauls.
-
Skip legs where your fuel is below above-average HP and the boss tier is 5 or higher.
-
Park the bus near a wall before engaging any boss above Tier 4.
-
Retreat to the bus during boss enrage; do not try to brute-force it.
-
Hire bus help for the final boss if your money allows it.
-
Push the final leg with a full tank, full magazine, and 8+ healing items.
This is not a guarantee — reaching the final stop solo is still one of the harder challenges in the game — but it is the playbook that experienced solo runners tend to converge on. The early game is about funding, the mid game is about gearing, and the late game is about committing. If you respect that progression and avoid the common leaks (wasting ammo, skipping fuel, overcommitting to enrage), your solo runs will start clearing more consistently.
The full picture of how solo play fits into the broader progression system is in our Last Stop progression guide — it pairs well with the route and upgrade advice here, especially for players who want to understand why the funding phase matters before they ever see a Tier 5 boss.
Frequently Asked Questions
Is it actually possible to reach the Last Stop solo?
Yes, but it requires careful resource management and conservative boss tactics. Solo players who stock full fuel, max their bus armor, and kite during enrage phases finish the run at a high rate, while players who try to brute-force bosses typically reset multiple times. The full loop is detailed in Cocajola's complete Last Stop guide, which frames it as a learnable but demanding challenge.
What is the single most important upgrade for a solo bus?
Fuel tank capacity, without question. Every other upgrade is conditional on you having enough fuel to reach the next stop, and solo players have no teammate to siphon from when they run dry. Armor plating is a close second, but a solo player with full fuel and starter armor will outperform a solo player with maxed armor and an empty tank almost every time.
Should I skip legs to save resources?
Skip selectively. Legs with Tier 5 or higher bosses, low fuel reserves, or starter-tier gear are usually not worth the risk for solo players — the leg's loot chest is rarely worth a 20-minute respawn penalty. Early legs (Tier 1–3) and legs where your bus is fully upgraded are almost always worth pushing, because the risk is low and the loot funds the next upgrade.
How does mobile solo play differ from PC solo play?
Mobile solo play is slower and less precise, so the optimal strategy shifts toward conservative kiting rather than aggressive burst windows. Touch controls make it harder to land tight damage phases during boss enrage, so mobile players should plan around longer, safer engagements. The upgrade priorities are the same — fuel, armor, storage — but mobile players benefit more from regen-focused gear than raw damage output.
When is it worth hiring bus help as a solo player?
Hire for hard and final bosses, not for routine scavenging. A hired crew on a Tier 1 boss is a waste of money that compounds across runs, but a hired crew on the final boss is the single highest-leverage spend in the game. If your money is tight, save it for the last gate and solo everything else with patience.