
Biomes & Maps
Last Stop biomes and map guide: starting towns, the Ocean biome, the Oil Rig, bus stops and wishing wells, with the loot spots and checkpoints along the route.
Introduction
The Biomes & Maps hub charts the whole road in Last Stop, from the starting towns and their abandoned buildings to the Ocean biome, the Oil Rig and the landmarks scattered between checkpoints. Each stretch of road throws different threats and loot at you, so knowing where to scavenge and where the checkpoints sit is how you plan a route instead of reacting to it. We cover the early loot spots like roadside shacks, cabins and dumpsters, the Update 3 Ocean biome with its new zombies and shark, and the community-reported points like the bus stops that trade fuel and rockets and the wishing wells that pay out lucky loot. The route is what you are actually optimizing against, so this page is the map that ties everything else together.
Location Quick Reference
| Location | Loot / Role | Threat |
|---|---|---|
| Starting Towns | Buildings, shacks, cabins, dumpsters | Low |
| S Ocean Biome | Ocean zombies, shark, swim hazards | High |
| Oil Rig | New ocean landmark | Medium |
| Wishing Wells | Variable lucky loot | None |
Map Highlights
Starting Towns
The opening stretch with the early loot you need to fund the first upgrades
Ocean Biome
Update 3's addition with ocean zombies, a shark and swim hazards
Oil Rig
A new landmark featured in the ocean update cycle
Wishing Wells
Community-reported lucky loot for throwing items in
Core Mechanics
The Last Stop map is a series of biome stretches connected by checkpoints, and each stretch has its own loot density and threat profile. The starting towns give you a safe place to learn the scavenge-sell loop with buildings, shacks, cabins and dumpsters. Further out, the bus stops sit between legs as the trading hubs where you exchange fuel and rockets, and the wishing wells offer a community-reported random reward. The Update 3 cycle added the Ocean biome with its new zombies, shark and swim hazards, plus the Oil Rig landmark at the deep end of the route. Because locations are community-mapped and the beta updates rapidly, each marker here is a strong guide rather than a fixed atlas, and the checkpoints remain the milestone points that gate boss encounters and end-game prep.
Advantages
Planning your route with the map turns the road from a gauntlet into a sequence of planned stops. Knowing the starting towns hold the early loot means your first leg funds the armor instead of wandering thin. The bus stops become deliberate trading points where you restock fuel and rockets on schedule, and the wishing wells become optional dice rolls you take when passing rather than detours. The Ocean biome and Oil Rig become endgame goals you work toward with the right class and a solid bus, so the persistent question of how far you can push has a clear answer on the map. The checkpoints tie it together, because every one of them is a prep cue that tells you when to bank ammo and medkits before the next boss.
Challenges
The map is community-documented and the beta updates fast, so a biome or landmark can change with a patch before this page reflects it. The Ocean biome details are especially fresh, and the shark plus ocean zombies are still being mapped, so exact spawn and hazard behavior may vary from what is written. Wishing wells are community-reported lucky loot rather than a confirmed mechanic, so their payout is genuinely unconfirmed. The Oil Rig and other deep locations punish a weak bus, so directions without a solid build will end a run before the interesting part. Treat the route as a strong framework and soften your plans when a marked location behaves differently than expected after an update.
Frequently Asked Questions
How do I reach the Ocean biome in Last Stop?+
Where is the best place to loot early?+
What are wishing wells in Last Stop?+
Quick Tips
Sweep the starting towns methodically and go building to building so every trip to the first stop carries a full inventory to sell, because the opening stretch is where the scavenge-sell loop first pays off and funds your early armor before the harder biomes. It is the same sweep every successful run opens with.
Treat the bus stops as deliberate trading points where you restock fuel and rockets on schedule rather than wandering past them, because those supply hubs are what keep the bus topped up between legs and stop a long stretch from ending on an empty tank. Stock up every time one appears, even when the numbers look okay.
Only attempt the Ocean biome and the Oil Rig after the bus and loadout are solid, because the trip out is the hard part and a weak bus dies on the way to the new content rather than at it. Otherwise the ocean stretch turns into a long walk back to the last checkpoint.
Featured
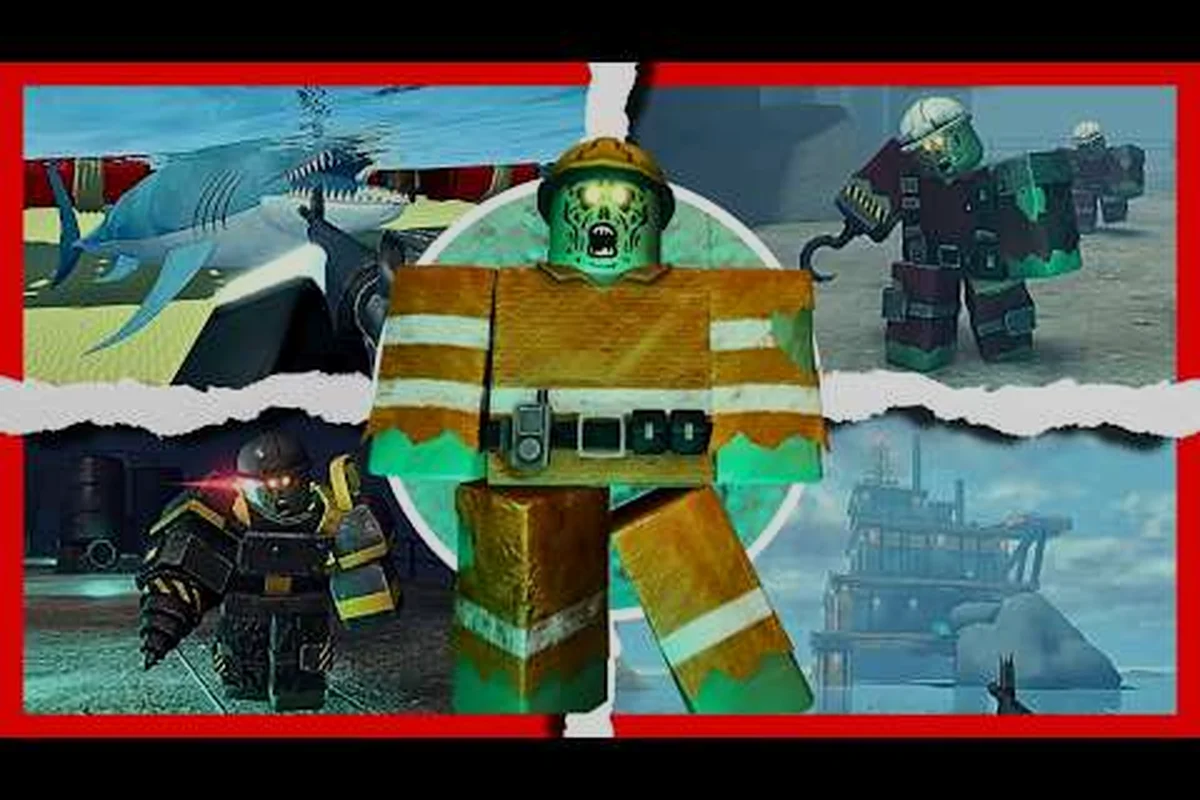
Last Stop All Biomes: Towns, Highway, and Ocean Stretch
Tour all Last Stop biomes from starting towns and roadside shacks through the highway stretch to the Ocean biome and the oil rig it hides.

Last Stop How Far Is the Last Stop: Distance and Hidden Spots
Find out how far the Last Stop really is at 100,000 miles, where the end-of-the-road triggers, and which hidden and secret locations sit along the way.

Last Stop Map: Towns, Cabins, and Distance to the End
Read the full Last Stop map breakdown of towns, cabins, dumpsters, bus stops, and checkpoints so you know exactly what each leg of the road holds.
All Articles

Last Stop Looting Spots: Best Locations Across Every Biome
Pin down the best Last Stop looting spots from starting-town shacks and dumpsters to roadside cabins, the oil rig, and wishing wells across every biome.
Last Stop Map Guide: Every Town, Checkpoint, and Ocean Route
Tour the full Last Stop map guide from starting towns and roadside shacks to bus stops, checkpoints, and the Ocean biome's oil rig and wishing wells.
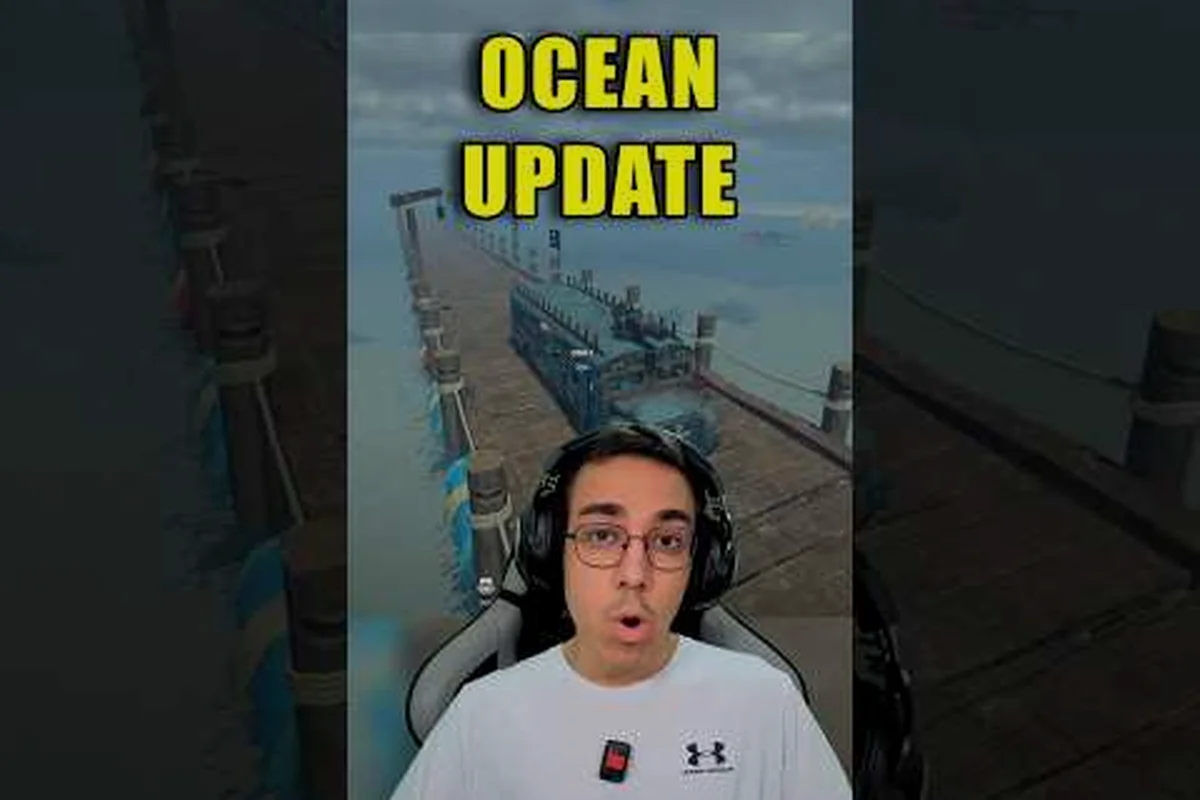
Last Stop Oil Rig: How to Reach the Ocean Landmark
Find the Last Stop oil rig on the Ocean biome stretch, learn how to swim out, what loot it drops, and why it matters in the 100,000-mile route.