
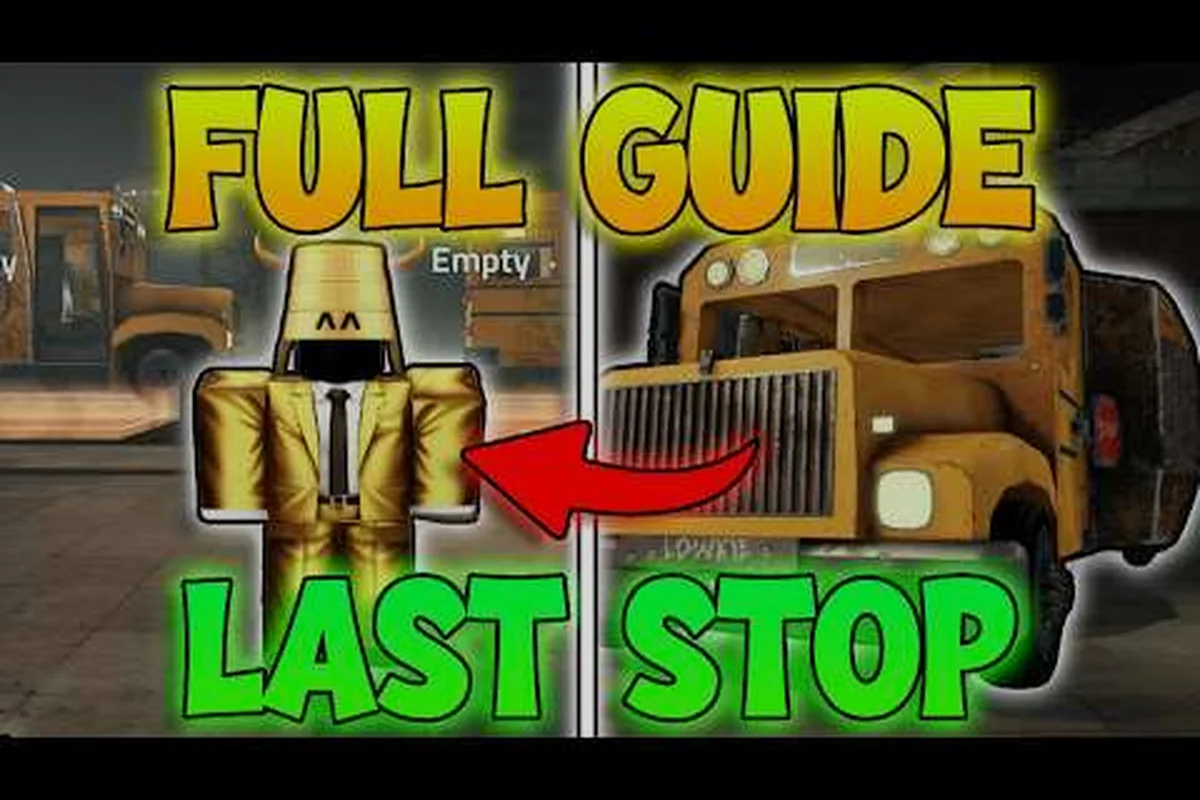
Last Stop is a Roblox zombie-survival experience built around bus travel, and every run is shaped by a simple truth: you either gear up between stops or you get buried at the next one. This last stop progression guide breaks down the checkpoint rhythm that decides whether you make it to the final terminal or restart at the depot, so you can walk into the first wave already knowing how to progress without burning hours on guesswork.
How Progression Actually Works in Last Stop
Last Stop structures its run as a series of driveable stops connected by open road, and each stop functions as both a rest point and a difficulty gate. According to community testing reported on the Last Stop full walkthrough by TheKacperosEN, servers hold up to 25 players and the game has crossed 21 million visits, which means the checkpoint loop has been stress-tested by a massive community. The base loop is straightforward: scavenge buildings, sell loot, buy better weapons and armor, then survive the next wave of zombies and the boss that follows.
The Core Checkpoint Loop
By run six or seven, most players stop consciously thinking about each phase and instead operate on the rhythm itself — eyes snapping to high-value loot spawns during Scavenge, hands already routing scrap to the nearest vendor during Sell, and gear loadouts being pre-planned the moment a checkpoint is cleared. That internalization is exactly what a last stop progression guide is designed to trigger: the loop stops being five separate tasks and becomes a single fluid cadence where the Scavenge Phase feeds directly into the Sell Phase, which funds the Gear Up Phase, which determines whether the Travel Phase and Boss Gate will succeed or collapse your run.
-
Scavenge Phase — Loot abandoned buildings, roadside shacks, and gas stations for scrap, ammo, and crafting materials. Prioritize buildings with multiple floors since they tend to drop higher-value items.
-
Sell Phase — Cash converts directly into progression. Selling zombie corpses and scrap stacks at vendors near the bus is the fastest income path early on.
-
Gear Up Phase — Buy or craft weapons, armor, and bus upgrades that raise your survivability for the next zone.
-
Travel Phase — Drive the bus down the road while fending off road zombies, blowouts, and ambush waves.
-
Boss Gate — Each major checkpoint ends in a boss encounter that demands the gear you just bought, otherwise the run collapses.
What Each Stop Gates
The stops get progressively harder, but they do not get harder in a smooth gradient. They jump. According to a player breakdown by BlaxieBLOX in their NOOB to PRO video, progression follows checkpoints where each one gates harder enemies and eventually a boss, which means the gear you walk in with matters far more than raw aim skill.
| Stop | Enemy Type | Boss Present | Recommended Gear Tier |
|---|---|---|---|
| Stop 1 | Basic walkers | No | Starter sword, basic armor |
| Stop 2 | Runners + spitters | No | Mid-tier gun, reinforced armor |
| Stop 3 | Brutes + exploders | Mini-boss | Full weapon set, medkits |
| Stop 4 | Mixed horde | Mid-tier boss | Endgame weapon, max armor |
| Final Stop | Elite horde | Final boss | All slots upgraded, bus maxed |
Early Game Foundations You Cannot Skip
The first hour of any run is where most players either build a foundation or fall behind the difficulty curve. Since Last Stop was launched in August 2026 by The Hidden Route and has been updated on a rapid beta cadence, the early game has stabilized into a clear set of priorities that community guides consistently recommend.
Starter Gear Priorities
Your first $500 in cash should follow a specific spending order, not a vibes-based one, because every early-game purchase in Last Stop feeds directly into your survival economy. Buying the starter sword before any firearm, for example, converts zero-cost melee swings into reliable zombie kills that drop scrap and ammo caches, letting you bank resources for the bus and armor upgrades listed below instead of bleeding cash into respawns and reloads.
| Priority | Item | Why It Matters |
|---|---|---|
| 1 | Starter sword | Melee is free; ammo costs money and respawn time |
| 2 | Basic armor | One extra hit of survivability is the difference between looting and dying |
| 3 | Fuel chest | Bus stalls kill runs faster than zombies do |
| 4 | Spare tire | Wheel blowouts on the road strand you in ambushes |
| 5 | Sleeping bag | Lets you skip dangerous night waves by resting past them |
Bus Upgrades That Actually Matter
The bus is your mobile base, and treating it like one is a core skill. Community testing shared across multiple Roblox guides notes that a maxed bus turns the late game from a coin flip into a controlled clear. The critical upgrades in order of impact:
-
Engine — Faster travel means more scavenging time per stop window.
-
Armor plating — Absorbs road ambush damage that would otherwise wreck your HP bar.
-
Storage — More slots means more loot per run, which compounds into more cash.
-
Fuel capacity — Fewer refuel stops means you stay in high-density scavenging zones longer.
For a deeper look at the bus mechanics and how it ties into overall run strategy, the Last Stop Roblox beginner guide covers the full vehicle system in detail — including how engine speed affects scavenge windows per route, how armor plating stacks against road-ambush damage, and why storage upgrades compound across multiple trips on the same run. That guide also breaks down the fuel capacity thresholds that let you skip low-density gas station stops and stay inside high-value scavenging zones longer, which is exactly the controlled-clear pattern that maxed-bus progression guides reference as the turning point between mid-game volatility and a reliable late-game loop.
Mid-Run Progression: Stop 2 to Stop 4
The mid-run is where runs either stabilize or fall apart. Stop 2 is the first real difficulty wall because runners and spitters start mixing into the horde, and your starter sword starts to feel slow. This is the section where your spending decisions from the early game pay off, and where bad habits start costing real resources.
Power Curve Between Stops
Each stop is a gear check disguised as a combat encounter. Players who treat every stop as a pure combat challenge tend to wipe on the Stop 3 mini-boss, while players who treat every stop as a shopping opportunity tend to cruise through it. The difference is whether you walk into the next zone with the right weapon tier.
| Weapon Slot | Stop 1 Loadout | Stop 2 Loadout | Stop 3 Loadout | Stop 4 Loadout |
|---|---|---|---|---|
| Primary | Starter sword | Mid-tier rifle | Combat rifle | Endgame rifle |
| Secondary | None | Pistol | Shotgun | Sniper rifle |
| Melee | Starter sword | Upgraded sword | Heavy blade | Max blade |
| Armor | Cloth | Reinforced | Tactical | Full plate |
| Utility | Sleeping bag | Medkit x2 | Medkit x3 + traps | Full kit + ammo crate |
Why the Boss Gate Breaks Most Runs
The Stop 3 mini-boss is the single biggest run-killer in the game according to community data, because it is the first encounter where your cumulative gear choices get tested all at once. If you walked into Stop 3 with Stop 2 gear, the boss will punish the gap within about a minute. The fix is not mechanical skill, it is preparation: by the time you reach Stop 3, you should have a combat rifle, full tactical armor, at least three medkits, and a fueled bus with armor plating.
For a closer look at the boss mechanics and how to handle each one, the Last Stop boss guide breaks down every encounter with specific attack patterns and counter-strategies. That resource covers the full Stop 3 to Stop 7 mini-boss and final boss rotation, including stamina timing windows, stagger thresholds, and which weapon archetypes (combat rifle vs. shotgun) outperform on each phase. Pair it with the gear checklist above so you arrive at each gate meeting the documented minimum loadout instead of bleeding tickets on attrition.
Blueprint and Class Progression Across Runs
Last Stop has a long-run progression track that survives between individual runs, and most new players miss it entirely. Daily quests and class unlocks run on a blueprint system that feeds your account-wide power, not just your current run.
Daily Quest Loop
Daily quests reward blueprint fragments, and blueprint fragments unlock classes. According to the full walkthrough by TheKacperosEN, the daily quest feed is the long-run progression track that survives between runs, which means logging in for 20 minutes a day pays off more than grinding one marathon session.
| Quest Type | Reward Type | Time to Complete |
|---|---|---|
| Kill X zombies | Blueprint shard | 10-15 min |
| Survive X waves | Blueprint shard | 15-20 min |
| Scavenge X buildings | Blueprint shard | 10-15 min |
| Defeat a boss | Class unlock | 30-45 min |
Class Unlocks and Why They Matter
Class unlocks give you permanent access to stronger starting gear and class-specific abilities that carry into every new run. The faster you accumulate blueprint fragments, the faster your baseline power floor rises, and the easier every run becomes. New players who ignore the daily loop are essentially playing the game on hard mode by choice.
For a full breakdown of how to reach the final stop and what the long-run roadmap looks like, the Last Stop solo walkthrough maps out the entire run structure from depot to terminal.
Strategy Tips for Winning More Runs
Last Stop is a systems game, not a shooter game, and the players who climb the leaderboard fastest are the ones who treat it that way. Every encounter tests map knowledge, ability cooldown tracking, and objective prioritization — so memorizing shrine spawn patterns, team comp breakpoints (damage vs control), and the economy curve between floors matters far more than raw mechanical aim. These are the patterns that separate one-and-done runs from consistent clears.
Spend Cash Before You Travel
The single most common mistake is hoarding cash because you are waiting for a vendor that does not exist. Every stop has its own vendor with a fixed inventory, and prices only get higher as you go. If you have $300 and you are about to leave a stop, spend it. A mediocre gun now beats a great gun you never buy.
Control the Vault
The Vault is the long-run insurance system, and players who die without contributing to it lose more gear than players who do. Community testing on similar Roblox survival titles shows that Vault-aware players keep substantially more gear between runs, which compounds into a much faster power curve by Stop 4. Lean on the Vault so deaths cost you less between runs.
Craft Before You Buy
Crafting is consistently cheaper than buying once you have the materials, and the materials you need drop in every scavenge zone. A crafted tactical vest costs roughly half the price of the equivalent vendor item, and a crafted medkit heals the same HP. Always check the crafting menu before opening the vendor.
Use the Road Wisely
The road between stops is not downtime. It is a high-density zombie zone where you can farm corpses for vendor cash, and the bus armor plating means you are not in danger while doing it. Players who cruise on autopilot miss out on a significant income source that could have funded their next weapon tier.
Do Not Fight Every Zombie
Aggressive play feels productive, but it bleeds HP and ammo that you need for the next stop. Kite the small hordes, prioritize elites, and let the bus do the work when the road gets crowded. Saving two medkits for the boss is worth more than clearing three extra side zombies on the road.
Frequently Asked Questions
How do I progress quickly in Last Stop as a new player?
Focus on the starter gear priority list: buy the sword first, then basic armor, then bus upgrades. According to community data, players who follow this order reach Stop 3 substantially faster than players who buy whatever looks strongest, because they stop wasting ammo early and reinvest the savings into higher-tier gear at Stop 2.
What is the best way to beat the game in Last Stop?
The most reliable path is treating each stop as a gear gate rather than a combat challenge. Sell everything you scavenge, buy the next weapon tier before leaving each stop, and keep at least three medkits reserved for the boss. Players who run the full loop with this approach report consistent clears past Stop 4.
How important is the early game in Last Stop?
The early game is where your power curve is set, and it compounds into every later stop. Buying the starter sword immediately, crafting a sleeping bag before the first night, and fueling the bus before the first road segment are the three decisions that decide whether your run makes it past Stop 2 or restarts at the depot.
Should I play solo or in a group for faster progression?
Solo play teaches the mechanics faster because you cannot rely on teammates to cover bad decisions, but group play clears content faster once you know the loop. According to community testing, a coordinated two-player squad reaches the final stop noticeably faster than a solo player, while solo play is better for learning the boss patterns.
How long does it take to unlock all classes in Last Stop?
Full class unlock takes roughly two to three weeks of consistent daily play, since each class requires multiple blueprint shards and the daily quest loop only generates one or two per session. Players who skip days or marathon-grind without doing duals tend to fall behind, because the shard rewards are front-loaded across daily logins rather than playtime.