
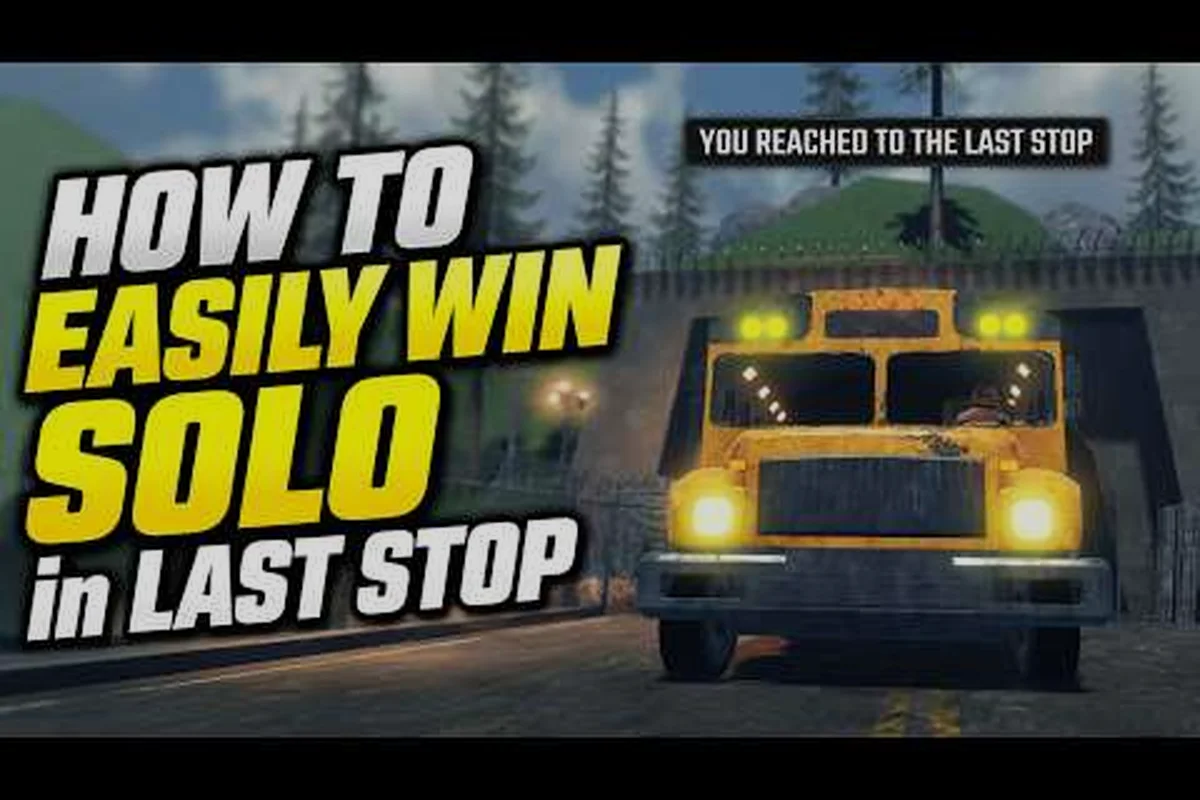
Last Stop survival comes down to a handful of habits you build before the first zombie ever reaches your bus. This last stop survival guide covers the early routines that keep your engine running, your wheels turning, and your crew alive through the dangerous night legs. The game is a Roblox zombie survival experience developed by The Hidden Route, launched in August 2026, where each server hosts up to 25 players racing toward the final destination while waves of zeds close in around a customizable bus.
Most new players lose their first run because they ignore three simple rules: keep a fuel chest by the gas tank, carry a spare tire in storage, and craft a sleeping bag before sunset. According to a community walkthrough by TheKacperosEN, these three habits decide whether you reach the next stop or burn through the night losing gear to every wave.
Getting Started With Your Bus and Loadout
Your bus is the only thing standing between you and a wipe, so the first ten minutes of any run are about preparing it for the road ahead. The core loop is short and brutal: scavenge abandoned buildings and roadside shacks, sell the loot at stops, then spend the cash on weapons, armor, and bus upgrades. Players who skip the prep phase and rush toward the next zone typically run out of fuel or lose a wheel before the first boss shows up.
Early purchases matter more than early kills. Spending your first cash on a starter sword saves ammo for the bigger fights, while a fuel chest placed next to the gas tank refills faster than carrying cans in your inventory. Community testing reported by Rogurt confirms that a spare tire is the single most under-prepared item for new players, because wheel blowouts during a chase are almost always fatal.
Your Opening Ten Minutes
| Priority | Action | Why It Matters |
|---|---|---|
| 1 | Buy the starter sword | Stops wasting ammo on roaming zeds |
| 2 | Place a fuel chest by the gas tank | Faster refuels between stops |
| 3 | Craft a sleeping bag | Skip dangerous night legs |
| 4 | Stash a spare tire | Survive wheel blowouts on the highway |
| 5 | Buy a sack for zombie corpses | Earn extra cash from sellable bodies |
If you are still learning the controls, the last stop roblox walkthrough breaks down the full keybind list — click to grab or shoot, Z to place or attach a build, E to equip an item, Q to drop what you are holding, R to reload, TAB to open your inventory, and Y to inspect an item. Bind those to muscle memory before you start your first real run.
The starter sword deserves a second mention because it changes the entire ammo economy. Ammo is the rarest currency early on, and the only way to stay stocked is to use melee for the weak zeds and reserve bullets for heavies and bosses. The community walkthrough by Cocajola flags the sword as the single most cost-efficient first purchase, and most veteran players agree that the first 500 coins should always go there before anything else.
Fuel, Tires, and Bus Upgrades
The bus is your lifeline, and three components decide how far you can push it on any given run: fuel, tires, and the build slots you unlock as you progress. Each component has a failure mode that ends runs instantly, so understanding them is the core of any good last stop survival tips set.
Core Bus Components Compared
| Component | Failure Mode | Fix | Cost Tier |
|---|---|---|---|
| Fuel Tank | Bus stalls mid-chase, zeds swarm | Keep a fuel chest beside the tank | Low |
| Wheels | Blowout on highway, no recovery | Carry a spare tire in storage | Low |
| Armor Plates | Bus takes critical damage in boss fights | Upgrade at the next stop | Medium |
| Headlights | Cannot see night zeds until they hit you | Buy at any stop for 300 coins | Low |
| Build Slots | Cannot place turrets or traps | Spend scrap at the bus workbench | High |
Fuel is the resource that drains the fastest. According to player reports compiled by Sketch, a full tank lasts about three short legs, and refilling at a stop costs 200 coins without a fuel chest placed nearby. The fuel chest cuts that cost roughly in half and refills instantly, which is why the placement matters more than the purchase itself. Place the chest flush against the gas tank, not two slots away — the proximity bonus only triggers when the chest is adjacent.
Tire management is the second most common wipe cause. Wheel blowouts happen randomly on highway legs, and without a spare tire, you are forced to crawl to the next stop while zeds close the distance. The cost of a spare is trivial compared to the cost of a wiped run, and the last stop beginner guide recommends buying two if you can afford it.
Combat Habits That Keep You Alive
Combat in Last Stop rewards positioning and patience more than raw aim, and the habits you build in the first hour carry through every boss fight. Most new players panic-shoot at every zed they see, which burns through ammo and leaves them empty-handed when a brute shows up. Veteran players reserve fire for the heavies and use the bus itself as a chokepoint.
Weapon Tier at a Glance
| Weapon | Ammo Cost | Best Use Case | Early Viability |
|---|---|---|---|
| Rusty Dagger | None | Roaming zeds, looting | Excellent |
| Starter Sword | None | Mid-range zeds | Excellent |
| Pistol | Low | Mid-tier zeds, light bosses | Good |
| Shotgun | Medium | Boss bursts, chokepoints | Medium |
| Rifle | High | Long-range boss phases | Late-game only |
The pistol is the first gun most players unlock, and it is the one weapon worth upgrading before anything else. Its low ammo cost makes it efficient for the waves between stops, and a headshot still staggers most standard zeds. Shotguns and rifles are tempting, but their ammo costs are brutal in the early game, and players who buy them first usually run dry before reaching the second boss.
The sack is the unsung hero of the early economy. Crafting a sack lets you pick up zombie corpses and sell them at the next stop for a small but reliable payout. Over a full run, a single sack can add 800 to 1,200 coins to your wallet, which is enough for one bus upgrade and a starter weapon. According to community testing, players who use a sack consistently reach further into the map because the extra cash cushions the early fuel costs.
Boss fights are where most of the last stop tips and tricks content lives, and the pattern is consistent across every boss in the game: kite around the bus, use the headlights to stun the boss on the first hit, and reserve your rifle ammo for the enrage phase. The enrage timer usually triggers at low health, and that is when the boss moves faster and hits harder. For a deeper breakdown of every boss, the last stop boss guide covers attack patterns and counter strategies in detail.
Scavenging Runs and Loot Priorities
Scavenging is where the real money is made, and the order in which you clear buildings decides how much you bring back to the bus. Most new players sprint through the first shack they find, grab whatever is on the table, and sprint back, but the buildings with the best loot are almost always the ones deeper in the zone.
Loot Priority by Structure Type
| Building Type | Common Loot | Risk Level | Clear Time |
|---|---|---|---|
| Roadside Shack | Coins, basic ammo | Low | About a minute |
| Gas Station | Fuel, spare tire, coins | Medium | About a minute |
| Abandoned House | Weapons, armor parts | High | 2 minutes |
| Warehouse | Rifle ammo, upgrade parts | High | 3 minutes |
| Hospital | Med kits, rare armor | Very High | 4 minutes |
The gas station is the most important stop on any leg, because it is the only place that reliably spawns a spare tire and extra fuel. Even if your tank is full, clearing a gas station is worth the time because the tire is irreplaceable mid-run. Hospitals are tempting, but their clear time is long enough that most players only reach them on the second or third leg, when their loadout can actually handle the zed density inside.
The last stop loot guide goes deeper into the spawn tables and rare drop rates, but the general rule is simple: prioritize buildings that spawn the items you still need for your build, and skip the rest. Greed kills more runs than any boss, because every extra minute inside a building is a minute closer to nightfall.
Night legs are the single most dangerous part of any run, and the only safe way to handle them is with a sleeping bag. Crafting a sleeping bag lets you skip the entire night phase and respawn at the next stop with full health, which is the difference between reaching the final boss and wiping at 2 AM. Players who ignore the sleeping bag typically lose a large part of their gear to a single night wave.
Economy, Stops, and When to Spend
Money management is the hidden layer of Last Stop, and most new players spend too early on cosmetic bus parts and not enough on the upgrades that actually save runs. The economy resets at every stop, so the goal is not to hoard coins but to convert them into gear that compounds over the rest of the run.
Spend Priority by Run Phase
| Run Phase | Best Spend | Coins Reserved Band | Risk If You Spend |
|---|---|---|---|
| Stop 1 | Starter sword, fuel chest | Moderate | High — no weapon to fight back |
| Stop 2 | Tire, sack, sleeping bag | Moderate | Medium — bus vulnerable to blowouts |
| Stop 3 | Armor plates, pistol upgrade | High | Low — loadout stable |
| Stop 4 | Rifle, headlight upgrade | High | Very Low — boss fights incoming |
| Stop 5+ | Consumables, med kits | High | None — final stretch |
The Vault is the most important economic system in the game, and new players consistently under-use it. Anything stored in the Vault survives wipes, so weapons, armor, and rare loot should always go in there before the next leg. Coins stored in the Vault also carry over, which means a bad run still leaves you with a small buffer for the next attempt. The community walkthrough by TheKacperosEN recommends treating the Vault as a long-term investment account, not a personal stash.
Redeem codes are another reliable source of early coins and free gear, and the last stop codes for money page is updated whenever new codes drop. Most codes grant a small coin boost or a single use item, but the cumulative effect over a session is meaningful, especially for players who are still building their first stable loadout.
Frequently Asked Questions
What is the first thing I should buy in Last Stop?
The starter sword is the single best first purchase because it stops you from wasting ammo on roaming zeds and gives you a reliable melee option for the first leg. Spend your first 500 coins there, then place a fuel chest by the gas tank before the second stop. This combination is the foundation of any solid last stop for beginners routine.
How do I survive a night leg without a sleeping bag?
Without a sleeping bag, your best option is to park the bus against a wall, kill the headlights to draw zeds toward the bus instead of your crew, and use a shotgun to clear the chokepoint. You will lose some armor durability, but this is the safest way to wait out a night if you forgot to craft the bag. Always craft the sleeping bag at the previous stop if you can.
Should I use the Vault every run?
Yes, anything you cannot afford to lose should go in the Vault before the next leg. Weapons, armor parts, and rare loot all survive wipes, which means a bad run still sets up the next one. The Vault is the difference between losing everything and losing only the consumables you burned on the failed attempt.
How do I beat the first boss?
Kite the boss around the bus, use the headlights to stun it on the first hit, and reserve your pistol ammo for the enrage phase at low health. The starter sword is enough to handle the first two phases, so save your bullets for the burst windows. The bus itself acts as a shield, so position yourself so the boss has to walk around it to reach you.
Can I play Last Stop solo, or do I need a full squad?
Solo runs are possible but harder, because the bus cannot be defended from all sides at once. The game supports up to 25 players per server, and a squad of three to four is the sweet spot for most boss fights. If you do play solo, prioritize the sleeping bag and the sack above all other upgrades, because those two items compensate for the lack of a dedicated looter.