
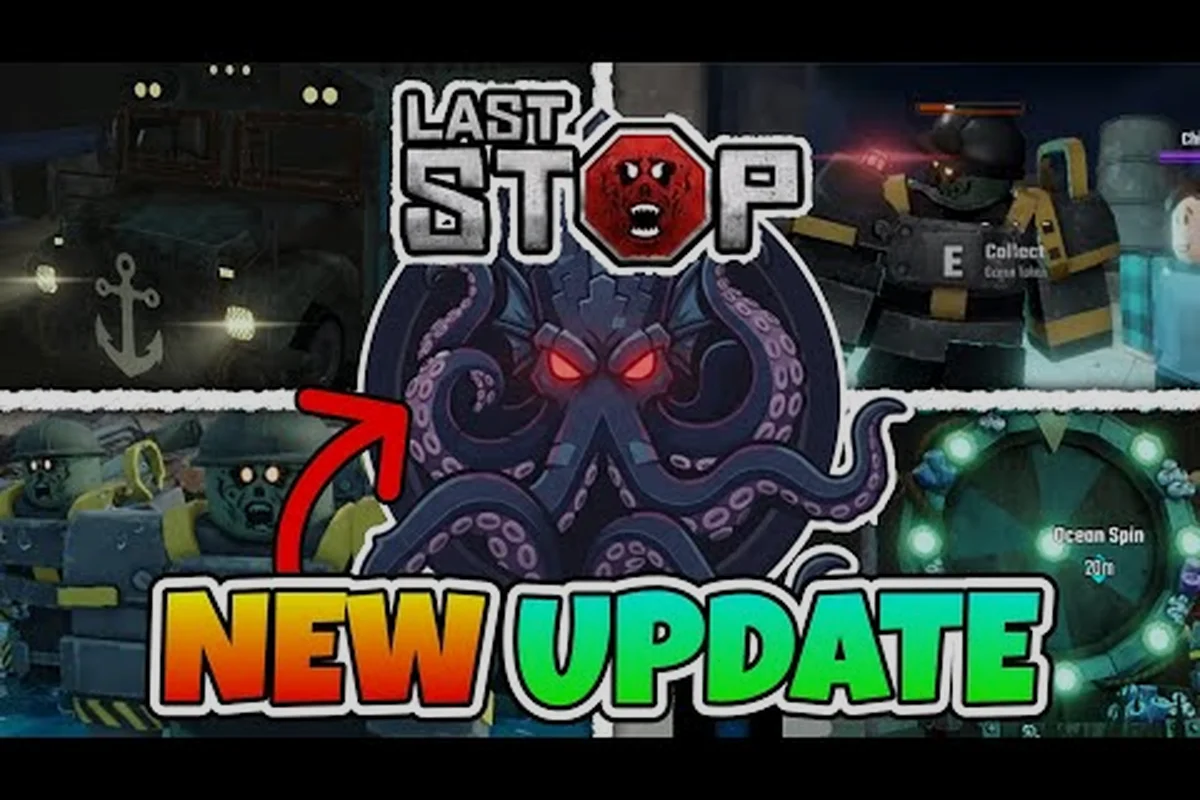
The Last Stop map is a long, mostly linear highway built around one big idea: distance is progress, and every road landmark you pass either trades resources, hands you loot, or punishes you for slowing down. This Last Stop map guide walks the entire road from starting towns to the Ocean biome that Update 3 added, so you can plan fuel stops, choose safe scavenging points, and avoid the spots that waste a run.
Last Stop launched in August 2026 from The Hidden Route, and according to community data the game has already cleared 21 million visits and is sitting around 239,000 favorites while averaging 20,000+ concurrent players on Roblox. Each server fits up to 25 players, the core loop revolves around upgrading a bus, and the road you travel is a one-way march toward the 100,000-mile mark. Knowing the layout of towns, roadside shacks, bus stops, checkpoints, wishing wells, and the new Ocean biome turns a guess-driven run into a planned one.
This guide breaks the map into the five landmark types the road actually uses — roadside shacks, bus stops, checkpoints, wishing wells, and abandoned buildings — then layers on the Ocean biome, the offshore oil rig, and the distance rules that decide whether you ever reach the 100,000-mile finale. Each landmark is tied to a specific payoff: shacks trade fuel or repair kits, bus stops act as the only respawn-capable save zones, checkpoints hand out blueprint tokens, wishing wells gamble scrap for rare parts, and abandoned buildings are the highest-risk, highest-loot roadside events. Because the highway is one-way, skipping a stop means committing to the next gas-light stretch, which is why a layered read of the map matters more than memorizing every node.
The Last Stop Map at a Glance: One Road, Five Landmark Types
The entire Last Stop map is built on five recurring landmark types. They show up in a fairly predictable order, and each one fills a different job in your run: somewhere to loot, somewhere to refuel, somewhere to push a boss gate, somewhere to gamble a reward, and (after Update 3) somewhere to swim. If you can recognize them on sight, you can plan every leg of the trip.
| Landmark Type | What You Find There | Main Purpose | Risk Level |
|---|---|---|---|
| Starting Town | Vendors, vendor crate, class NPC, basic shelter | Buy first weapons, sell starter loot, choose class | Low |
| Abandoned Building / Cabin / Roadside Shack | Loot spawns (food, parts, weapons, ammo) | Stockpile value for the vendor | Low–Medium |
| Dumpster | Quick small loot piles | Fast cash between big stops | Low |
| Bus Stop | Fuel tank, fuel chest, fuel-for-rocket trade NPC | Refuel bus, convert surplus fuel to rockets | Low |
| Checkpoint | Boss arena gate, medical restock, ammo cache | Boss fight trigger + emergency supplies | High (bosses) |
Community testing through the September 2026 beta puts the road's early-to-mid weight on the abandoned buildings, roadside shacks, and bus stops, then shifts it onto checkpoints and the Ocean biome once you are past the halfway point. For the wider biome context, the Last Stop all biomes breakdown is a useful companion read.
Starting Towns and Abandoned Buildings: Where Every Run Begins
Every run starts in a small town clustered around the spawn area. The town is the only place you can interact with vendors and the class NPC before leaving on the road, so your first three minutes set the tone of the entire run. Expect a vendor crate, an NPC that lets you swap your starting class for tickets, and a short stretch of safe buildings to loot.
What the Starting Town Actually Offers
-
Vendor crate for selling loot and buying weapons, armor, and bus parts
-
Class NPC for swapping your starter class to one of the Update 2 or Update 3 classes
-
Beginner loot spawns in nearby abandoned buildings and dumpsters
-
A safe area where waves of zombies do not spawn until you drive out
For new players, the rule of thumb is simple: loot the buildings closest to spawn, sell what you do not need, buy the cheapest weapon that has reach (the Starter Sword is the meta first purchase), and leave town before the first wave timer triggers. The starting town is also the only place where the medical restock chest is guaranteed to refill on death, so treat it as a soft save.
Abandoned Buildings, Cabins, and Roadside Shacks
Outside the towns, the road is lined with abandoned buildings, cabins, and roadside shacks. These are the single biggest source of loot on the map. Inside, you can find food, weapon parts, ammo, and occasionally a wishing well that grants a small variable reward for a small fee. Most cabins respawn loot after a short cooldown, so experienced players loop the same shack two or three times before moving on.
| Building Type | Loot Density | Best Loot Tier | Common Hazards |
|---|---|---|---|
| Small Shack | Low | Common food, scrap | Trash zombies, no boss spawns |
| Cabin | Medium | Weapons, ammo, parts | Brute zombies, occasional bandit |
| Roadside Shack (large) | High | Rare weapons, gold, rockets | Acid rain exposure, brute + ranged enemies |
| Wishing Well (sub-feature) | Variable | Tickets, gold, weapons, occasionally empty | Costs a small fee, no combat |
Wishing wells deserve a callout. They sit just outside most abandoned buildings and roadside shacks, and they are the cheapest gambling mechanic on the map. A typical well costs a small fee (usually food or scrap), then gives one of three outcomes: a small bundle of tickets, a rare weapon, or nothing. Community data suggests the empty outcome is more common than players would like, so only drop coins into a well when you have a buffer of loot already secured.
Bus Stops: Where Fuel Becomes Rockets (and Progress)
Bus stops are the second landmark type, and they are the most important non-combat stop on the entire map. A typical bus stop has a fuel tank (refill your bus), a fuel chest (deposit extra fuel for later), and an NPC that converts stored fuel into rockets. Rockets are the single most valuable trade good in the game, because they bypass almost any obstacle and they are the main currency for finishing long legs.
The bus stop layout is consistent across the map, so once you have visited two of them, you have effectively seen them all. This uniformity is a deliberate design choice: every fuel tank, fuel chest, rocket NPC, and vendor crate spawns in the same relative position around the bus, meaning your third, fourth, and fifth stops require zero new navigation. Veteran last stop map guide players exploit this by pre-planning their deposit cadence — for example, after clearing a roadside shack, they know exactly which corner of the next bus stop to circle so they can refuel, deposit surplus fuel, and cash in for rockets without breaking momentum on the long highway segments between landmarks.
| Bus Stop Feature | Function | When to Use It |
|---|---|---|
| Fuel Tank | Refills the Gas Tank directly | Every time fuel runs low |
| Fuel Chest | Stores surplus fuel for later | After every scavenged town |
| Fuel-for-Rocket NPC | Trades fuel for rockets (rate varies) | When you need rockets for a boss or final push |
| Vendor Crate (small) | Sells basic ammo and parts | When you are light on bullets |
A common mistake is to skip a bus stop because the tank still shows fuel. The map is long, the next gas stop can be dozens of miles away, and running dry on a highway segment almost always costs a run. According to community testing, players who refuel at every bus stop finish runs more often than players who skip the second and third stops.
Checkpoints: Boss Gates and the Real Map Progression
Checkpoints are where the map gets serious. Every checkpoint is gated by a boss fight, and every checkpoint you clear pushes the road forward by a fixed distance. There are checkpoints spread across the entire route, and the Last Stop boss order (Military → Vampire Lord → Anubis → Fred) is locked to these gates. The full Last Stop boss guide covers each fight in detail, so this map guide sticks to how the checkpoints connect.
| Checkpoint | Distance Tier | Boss | Key Reward | Loot Inside |
|---|---|---|---|---|
| First Checkpoint | Early | Military Boss | Tickets + armor | Ammo cache, medical restock |
| Second Checkpoint | Mid | Vampire Lord | Tickets + rare weapon | Extra fuel chest, blueprint |
| Third Checkpoint | Late | Anubis + Statues | Tickets + class unlock | Rocket crate, gold pile |
| Final Checkpoint | End | Fred (final boss) | True ending route | Full restock + terminal |
Every checkpoint also contains a small restock area: medical restock (heals between waves), ammo cache (refills secondary weapons), and a small vendor that sells armor and a single rare weapon. Treat the checkpoint as your recovery room, not your loot room. Loot the restock, repair the bus, then drive on.
Players who want the true ending must clear all four bosses in order, which means every checkpoint on the map matters. For the specific route and prep steps, the Last Stop how to reach the Last Stop guide lays out the practical run plan.
The Ocean Biome, Wishing Wells, and the Oil Rig (Update 3)
Update 3 added the Ocean biome to the eastern end of the map. The biome is gated behind a long bridge segment, and it swaps the road for water, sand, and a fully separate landmark set. The big pulls are the oil rig (high-tier loot, including alien-class materials), the ocean variant of zombies, a roaming shark, and a denser cluster of wishing wells along the coast.
How the Ocean Biome Connects to the Map
The Ocean biome does not replace the highway — it branches off near the third checkpoint and re-merges before the final checkpoint. That means a typical run loops through it between the Anubis and Fred fights, and the rewards there are tuned to be worth the detour but not mandatory.
| Ocean Feature | What It Does | Recommended Approach |
|---|---|---|
| Oil Rig | High-tier loot, alien materials, rare weapons | Park bus on shore, swim with two teammates |
| Wishing Wells (cluster) | Cheaper entry, higher rare-reward rate | Drop one fee per well, max three per visit |
| Ocean Zombies | Brine-coated variants with extra HP | Use a ranged weapon, keep distance from water |
| Shark | Apex threat, one-shot bus on contact | Never swim alone, never drive through deep water |
| Beach Town | Vendor + class NPC + safe zone | Treat as a mid-Ocean resupply hub |
The oil rig is the headline addition. According to community data, the rig is the only place on the map where you can reliably farm alien-class materials, and it is also the fastest source of the rare weapons used in late-game loadouts. The catch is the swim: the rig sits far enough offshore that the shark will patrol your path, and any bus that drives into deep water takes catastrophic damage. The standard play is to park on the beach, swim in pairs, and kite the shark away from the loot pile while the second player grabs the chest.
Wishing wells in the Ocean biome behave the same as inland wells, but the cluster near the beach town has a noticeably better rare-reward rate according to player reports. Treat the cluster as a quick side errand on the way to the rig, not as a primary grind.
Wishing Wells, Hidden Spots, and the 100,000-Mile Question
Two map details deserve their own callout because they are easy to miss and they show up on every run: wishing wells scattered across the entire road, and the 100,000-mile distance marker that gates the finale. Wishing wells are tucked beside roadside shacks, near abandoned buildings, and along the shoulder a short distance after most bus stops, so any last stop bus stops route you plan should detour roughly 50–100 feet off the pavement at each whistle. The 100,000-mile distance marker, by contrast, sits past every hidden spot, meaning your wishing-well farming loop will inevitably end with the finale trigger once the odometer rolls over.
The finale stretch is where every map decision pays off at once. Once the odometer crosses the 100,000-mile marker the route stops offering side detours, so a crew that skipped bus stops or burned fuel chests early arrives at the final segment with no margin to correct mistakes.
Wishing Wells Across the Map
Wishing wells are sprinkled next to most abandoned buildings, roadside shacks, and the Ocean beach town. They always cost a small entry fee (usually food or a low-tier weapon), and they always produce one of three outcomes: tickets, rare loot, or nothing. The reward table is roughly:
| Well Outcome | Typical Value | When to Use |
|---|---|---|
| Small ticket bundle | A small ticket cost | Whenever you have spare food |
| Rare weapon or blueprint | High (one-time) | Mid-to-late game, when you have buffer loot |
| Empty / trash | None | Avoid if you are low on food |
A practical rule: never feed a well if you would feel the loss of that food or weapon. The wells are pure upside when you are ahead, and pure waste when you are behind. In practice this means skipping wells during the first two bus stop rotations on any run, when your inventory is still just scavenged food and a broken pistol, and only starting to pay entry fees once you have cleared at least two abandoned buildings or roadside shacks with a buffer of spare meat and a replacement ranged weapon tucked into your pack. If the reward table spits out trash twice in a row, the expected value of a third pull drops sharply, so cut your losses and save the food for the next checkpoint instead.
The 100,000-Mile Marker and How Far the Last Stop Actually Is
The map's headline number is 100,000 miles. That is the total distance between spawn and the final area, and the bus odometer ticks up one mile at a time as you drive. According to community testing, the average run covers a long way before a wipe, and the average successful run covers the full 100,000 in roughly 45–60 minutes of driving (plus scavenging and boss time). Hitting 100,000 is what unlocks the Fred encounter and the true ending route. For a deeper look at the distance math and the hidden stops along the way, the Last Stop how far is the Last Stop article has the full breakdown.
A few small but useful landmarks that show up on the way to the 100,000-mile marker act as quiet odometer checkpoints between bus stops, and most of them sit just off the main junction of a major route junction. They are easy to miss because they do not glow on the bus route map the way the three primary checkpoints do, yet they reliably respawn loot each loop, making them the best places to bank extra fuel cans, weapon parts, and the occasional class ticket while grinding toward the Fred encounter.
-
Roadside shacks with extra loot often hide a back-room crate that most players miss on the first pass
-
Dumpsters behind bus stops frequently hold a free fuel can
-
A secret wishing well near the second checkpoint can roll a rare blueprint if fed early
-
An unmarked cabin between the third checkpoint and the Ocean bridge occasionally holds a class ticket
Putting the Last Stop Map Together: A Practical Run Plan
A clean run plan treats the map as four legs, each with a different landmark priority, and the breakpoints are dictated by where the bus stop density thins out and where wishing wells stop respawning bonus fuel. Use the table below as a baseline; the middle legs are not arbitrary — they line up with the three checkpoint regions, each gating a boss whose arena punishes undergeared buses. So a solo runner in a stock bus should skip the Oil Rig detour in Leg 4 and shave the Ocean bus stop, while a four-player convoy with reinforced bus armor can afford every landmark on the list. Adapt the exact stops to whatever your bus class and party size can handle, and treat the "Skip If…" column as a hard gate rather than a suggestion.
| Leg | Distance Tier | Priority Landmark | Skip If… |
|---|---|---|---|
| Leg 1 (Spawn → First Checkpoint) | The opening quarter of the route | Starting town, roadside shacks, bus stop 1 | You already have full fuel and a basic weapon |
| Leg 2 (First → Second Checkpoint) | The second quarter of the route | Cabins, second bus stop, wishing wells | You are low on food or low on fuel |
| Leg 3 (Second → Third Checkpoint) | The third quarter of the route | Bus stop 3, checkpoint prep, last wishing well run | You have not cleared the Vampire Lord yet |
| Leg 4 (Third Checkpoint → Fred) | The final quarter, ending at 100,000 miles | Oil Rig detour, Ocean bus stop, final checkpoint | Your bus armor is below half |
Two practical rules tie the whole map together. First, never pass a bus stop with a fuel chest you can deposit into — surplus fuel is the only way to bank rockets for the final push. Second, never enter a checkpoint with a wounded bus or empty ammo cache. Checkpoints are boss gates, not recovery rooms, and the fights inside assume you are fully supplied.
Mobile-Specific Map Notes
On mobile, the map plays almost identically, but two details matter more. The Ocean biome swim is harder because the touch controls make the shark kite slower, so always pair a mobile player with a desktop teammate for the oil rig. Wishing wells also sit a little further from abandoned buildings on smaller screens, so tap the well directly instead of tapping near the door to avoid walking into a brute by accident.
For solo runners, the map collapses slightly: skip the deepest Ocean detour, hit the bus stops on schedule, and stack checkpoint prep rather than splitting loot across the side routes. The solo version of this run plan is covered in detail in the Last Stop solo guide.
The map's last stop is the routing point the whole 100,000-mile road is measured against, so route planning is really about making that final arrival affordable. Crews that bank fuel and repair scrap before the Ocean detour reach the finale with a bus that can absorb a bad wave instead of stalling out on the last leg.
Frequently Asked Questions
How long is the Last Stop map in miles?
The full road runs roughly 100,000 miles from the starting town to the final area, and the bus odometer ticks up one mile at a time as you drive. The Ocean biome detour branches off near the third checkpoint and adds a short swim leg before re-merging with the main road.
Where do wishing wells spawn on the Last Stop map?
Wishing wells sit just outside most abandoned buildings, roadside shacks, and the Ocean beach town. The Ocean cluster near the beach town has a higher rare-reward rate than inland wells, so it is the best place to spend spare food.
Do I have to visit every bus stop to finish the run?
You do not have to visit every bus stop, but skipping more than one in a row is a frequent cause of wipes. The road between bus stops is long, and the fuel tank drains faster than most new players expect, so refuel at every stop until you have a tested bus build.
What is the safest way to reach the oil rig in the Ocean biome?
Park the bus on the beach near the Ocean bus stop, swim to the rig in pairs, and kite the shark away from the loot while the second player grabs the chest. Never drive the bus into deep water, and never swim alone, because the shark one-shots players without armor.
Can I get the true ending without entering the Ocean biome?
Yes, but it is much harder. The Ocean biome and the oil rig are the main source of alien-class materials and rare late-game weapons, and skipping them usually means entering the Fred fight with weaker armor. For the smoothest true ending route, hit the Ocean detour between the Anubis and Fred checkpoints.