
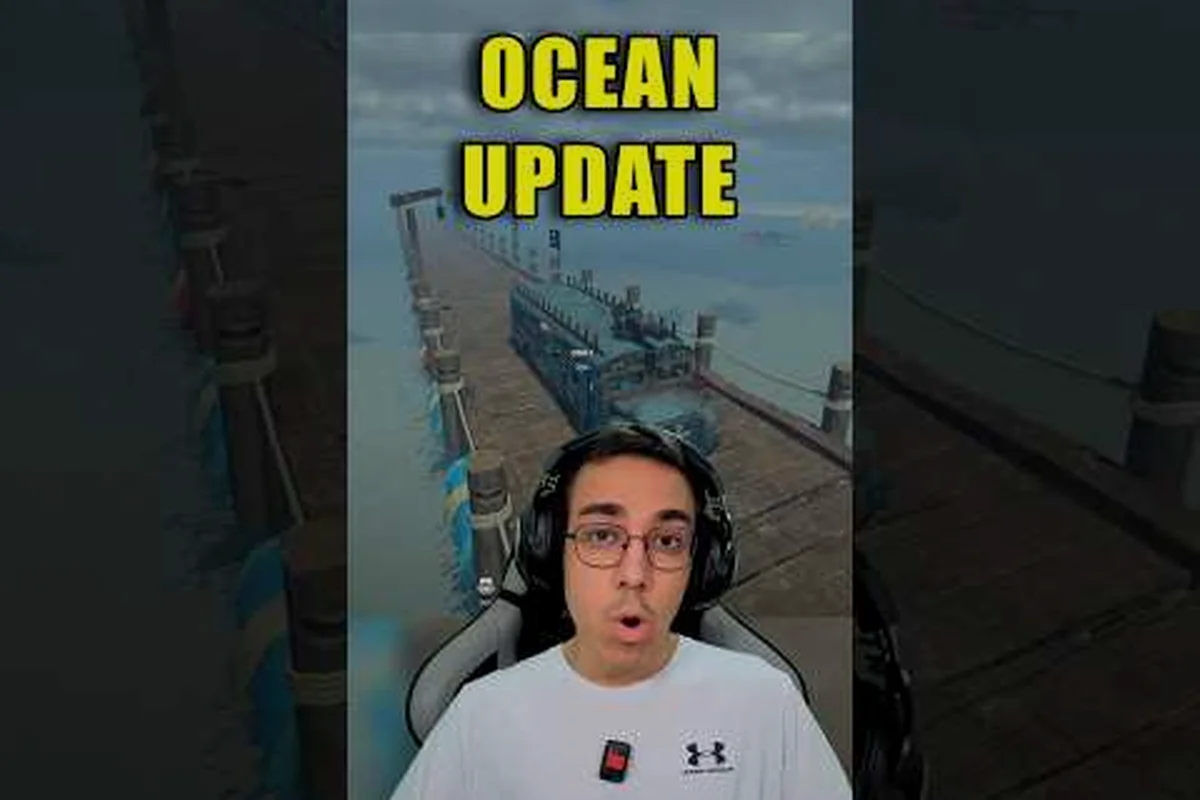
The last stop oil rig is the fixed offshore landmark that Update 3 introduced alongside the Ocean biome, and it is the only Ocean point of interest you can route toward deliberately instead of stumbling across. This guide explains what the rig is, how to swim out and board it without losing the run to the roaming shark, what the platform tends to drop, and where the side objective fits into the wider 100,000-mile road.
The Last Stop Oil Rig and Why It Matters
The last stop oil rig is the new offshore landmark dropped into the Ocean biome stretch of Last Stop's Update 3, and it sits in the water column a long swim away from the coastal road. Because the entire Update 3 patch added a swimmable ocean, ocean zombies, a roaming shark, and the 100,000-mile challenge, the rig is the one fixed structure players can actually target once they leave the bus behind. Every other Ocean biome pickup floats randomly, but the rig is a permanent fixture on the map, which makes it the most reliable side objective the new biome offers.
This guide explains what the rig is, where it sits relative to the new coastal road, the exact steps to swim out and board it, the loot it tends to drop, and the strategic role it plays in the Ocean biome update. The goal is to walk you from the moment Update 3 loads to the moment you stand on the rig deck with a fresh drop in your inventory, and to do it without getting deleted by the shark on the way out. If you are still learning the wider road layout, the biome overview guide is a useful companion read before diving into the specifics below.
What the Oil Rig Is and Why It Was Added
The Landmark's Role in Update 3
The rig is a fixed offshore platform added alongside the Update 3 Ocean biome, which community creators have been showcasing on an Update 3 ocean live stream and in HorrorJackStar's Ocean biome showcase. Unlike the floating barrels, crates, and debris that drift along the coastal stretch, the rig has a defined footprint on the map, so players can route toward it deliberately rather than chasing random ocean pickups. It functions as a small, repeatable loot node for anyone willing to commit to a swim in open water.
It also functions as a difficulty gate. The swim out to the rig is long enough that the shark and ocean zombies become real threats, and the deck itself spawns its own enemy density. That combination of distance, hazards, and a fixed reward at the end is what makes the rig feel like a proper landmark instead of just another floating pickup. For players who already cleared Update 2's Nightmare mode content, the rig is essentially the new mid-run reward tier when the bus finally rolls onto the coastal road.
How It Fits the Last Stop Loop
Last Stop's core loop is to build and upgrade a bus, scavenge the roadside for loot, sell what you don't need, and survive waves of enemies until the odometer ticks high enough to reach the Last Stop terminal. The oil rig is a side objective that interrupts that loop without breaking it: you stop the bus on the new coastal road, dive in, swim out, loot the rig, swim back, and resume driving. Because the rig is a single, self-contained location, it scales naturally with whatever build you are running, whether you are a freshly rolled survivor or a fully armed veteran chasing the 100,000-mile challenge.
| Rig Attribute | Value | Notes |
|---|---|---|
| Biome | Ocean | Update 3 content |
| Position | Offshore, mid-ocean | Reached by swimming, not driving |
| Map status | Fixed landmark | One consistent location per server |
| Main threat | Shark + ocean zombies | Hazard layer on top of normal waves |
| Reward tier | Mid-run loot node | Repeatable on each coastal road pass |
| Required vehicle | None | Bus stays parked on the road |
| Added in | Update 3 (Ocean biome) | Live as of September 2026 |
How to Reach the Last Stop Oil Rig
Step 1: Drive Into the Ocean Biome Stretch
The first real prerequisite is simply reaching the new coastal road segment that Update 3 added. The previous road system ran from starting towns through abandoned buildings, roadside shacks, cabins, dumpsters, fuel-and-rocket bus stops, and checkpoints that triggered boss encounters, then into wishing wells and the Nightmare content covered in BlaxieBLOX's Ocean Update roundup. Update 3 stitches the new Ocean biome onto the tail end of that chain, so you cannot reach the rig until the bus is actually rolling along the coast. Once you see water on both sides of the road and the road texture shifts to the new coastal styling, you are in the right biome.
Park the bus safely on the shoulder before diving in. If the bus is left rolling or badly positioned while you are in the water, you can lose it, and the rig run becomes a forced respawn back at the last checkpoint. The standard community trick is to brake fully, shift the bus against a guardrail or rock outcropping if one is nearby, and confirm it has stopped before jumping out.
Step 2: Enter the Water and Start Swimming
The swim out is the longest and most dangerous part of the rig run. There is no boat or shortcut: you dive off the road shoulder and start swimming toward the rig's silhouette on the horizon. The distance is long enough that stamina management matters, and the water is hostile from the first stroke. Expect ocean zombies to spawn around you as you clear the shallows, and expect the shark to begin pathing toward your position once you are a certain distance from shore.
The recommended rhythm, based on community testing, is a steady breaststroke rather than an all-out sprint. Sprinting drains stamina too fast and leaves you treading water in the kill zone when the shark arrives. Swimming at a moderate pace, weaving around floating debris, and keeping an eye on the water behind you is the consistent pattern that successful rig runners describe.
Step 3: Approach the Rig and Climb Up
The rig is a raised platform sitting above the waterline, so you cannot just swim into it. The correct move is to swim under or around the base until you find a ladder, scaffolding leg, or climbable section, then ascend onto the deck. Climbing takes a few seconds, which is the most exposed you will be during the entire run, because the shark and ocean zombies can still hit you while you are halfway up. Face outward while climbing so you can see incoming threats and time your inputs.
Once you are on the deck, the swim portion is over and the loot phase begins. The rig is small enough that you can clear it in a single lap if you know what you are looking for, which is why a quick mental checklist before the swim pays off here.
Step 4: Clear the Deck and Loot the Rig
The deck is treated like a small arena, with enemy spawns on top of the rig as well as the ocean threats below. The right approach is to kite enemies to one side of the deck, clear them in a tight group, and then sweep the rest of the platform for containers. Most community footage shows two to three main loot nodes per rig, often a mix of standard crates and rig-specific drops that are tied to the Ocean biome's loot table.
| Swim Phase | Threat Level | Key Action |
|---|---|---|
| Shore to shallow water | Low | Dive in, pace yourself, watch stamina |
| Shallow to mid-ocean | Medium | Ocean zombies begin to spawn, dodge first |
| Mid-ocean to rig base | High | Shark is active, keep moving, do not stop |
| Climbing the rig | Very high | Face outward, climb in short bursts |
| On the deck | Medium | Clear enemies first, then loot |
| Swim back to road | High | Loot is heavy, stamina is low, shark patrols |
Loot, Rewards, and Why the Rig Is Worth the Swim
What the Rig Actually Drops
The practical takeaway is that the rig is worth running whenever the bus rolls past it, but it is not worth dying for. If the shark is already aggroed on you before you reach the climb, the correct call is usually to cut the run short, return to shore, and wait for the next pass. The rig is a repeatable node, so losing one run costs you one loot drop, not your entire progress through the biome.
Strategic Value on the 100,000-Mile Route
The last stop 100000 miles challenge is the long-form objective that the Ocean biome update was clearly built around. Reaching that distance is a multi-session grind, and every loot landmark along the way is essentially a small refuel stop. The rig fills a specific slot in that grind: it is the first fixed-structure reward you can target in the new biome, and it gives Ocean-run players a way to bank a guaranteed drop between the coastal road and the deeper water.
For solo players, that means the rig is a clean detour on every coastal pass. For groups, it is a coordinated event, because one player can park and watch the bus while the others swim out, and the deck is small enough that a full squad clears it almost as fast as a solo player. The Update 3 content overall has been documented in long-form runs like Build to Survive ZOMBIE BUS for 100,000 Miles, which frames the rig as one of the routine waypoints in a successful Ocean biome run.
Ocean Biome Hazards and How to Handle Them
The Shark and Ocean Zombies
The shark is the headline hazard of the last stop ocean update and the single biggest reason players fail their first rig attempt. It patrols the deeper water on a loop, and once it aggroes, it will continue to chase until you are back on the road or dead. Ocean zombies are the secondary hazard, spawning in groups and slowing your swim if you let them surround you. Together they make the swim out feel like a deliberate, timed challenge rather than a casual detour.
The consistent counter-strategy is awareness over panic. Keep one eye on the shark's arc, swim in short bursts when it is pointed away from you, and never stop moving in the deep water. Most deaths on the way to the rig are caused by players stopping to manage inventory or aim at a zombie while the shark is mid-turn, which is the one mistake the community universally flags.
Spawn Pressure on the Deck and the Swim Back
Even after a clean climb, the deck spawns its own enemy wave, and the swim back is harder than the swim out because you are now carrying loot. Heavier inventory slows you down, stamina drains faster, and the shark is often still in patrol range by the time you drop back into the water. Plan the return swim as a separate phase rather than an afterthought: re-check your stamina, drop any trash loot you do not need, and pick a clean line back to the shoulder where you parked the bus.
| Hazard | Where It Hits | Best Counter |
|---|---|---|
| Shark | Mid-ocean swim | Track its arc, never stop swimming in deep water |
| Ocean zombies | Shallows and mid-water | Dodge first, fight only when blocked |
| Stamina drain | Entire swim | Steady pace, not sprint |
| Deck enemies | After climb | Clear before looting, kite to one side |
| Inventory weight | Swim back | Drop low-value loot before re-entering water |
| Bus loss risk | Road shoulder | Park fully against guardrail before diving |
Common Mistakes and Pro Tips for the Oil Rig Run
Mistakes That Get You Killed on the First Attempt
The most common first-attempt mistake is misjudging the swim distance and sprinting out of stamina halfway to the rig. The second is stopping to fight ocean zombies while the shark is mid-arc, which turns a manageable chase into a guaranteed death. The third is climbing the rig in a bad position and getting knocked off the ladder back into deep water, where the shark is still waiting. All three come from the same root cause: players treat the rig like a roadside dumpster when it is actually a mini-encounter.
A cleaner mental model is to treat the rig run as a three-phase event: swim out, clear and loot, swim back. Each phase has its own threat profile and its own best rhythm, and trying to blend them into one continuous action is what causes most wipeouts.
Pro Tips from Successful Rig Runners
Successful Ocean biome players tend to develop a small set of habits rather than a single big trick. They always confirm the bus is parked before diving. They always face outward on the climb so they can see threats. They always drop excess loot before the swim back. And they always treat the rig as optional rather than mandatory, because forcing a bad run is a much larger time loss than skipping one rig pass and trying again on the next coastal loop.
| Tip | Why It Matters |
|---|---|
| Park the bus fully before diving | Prevents losing your vehicle mid-run |
| Swim at a steady pace | Conserves stamina across the long distance |
| Watch the shark's arc | Avoids being caught during stop-and-fight moments |
| Face outward while climbing | Lets you time the climb against incoming threats |
| Clear deck enemies before looting | Prevents being surrounded mid-container open |
| Drop trash loot before swim back | Reduces inventory drag and stamina drain |
| Skip the rig on bad spawns | The node is repeatable, your run is not |
How the Oil Rig Connects to the Wider Last Stop Roadmap
The rig is not a standalone piece of content. It is one node in a chain of Ocean biome additions that Update 3 stitched onto the existing road, and understanding where it sits in that chain makes your runs smoother. The bus reaches the coastal road, the rig is the first major landmark in the water, the deeper ocean contains floating pickups, and the 100,000-mile terminal is the long-term goal that all of this feeds into. If you are still working out how the new biome hooks into the rest of the road, the biome overview guide maps the full biome order and explains how the Ocean section fits between the Nightmare update and the final stretch.
For players who want to push the Ocean biome as efficiently as possible, the practical loop is: stock up on the coastal road, run the rig on every pass, and treat the floating pickups as bonus rather than primary loot. The rig is the anchor of that loop because it is the one predictable reward in an otherwise randomized water segment. Once you have a few clean rig runs under your belt, the rest of the Ocean biome content reads as extensions of the same pattern rather than as separate challenges.
Frequently Asked Questions
What is the last stop oil rig and where is it located?
The last stop oil rig is a fixed offshore platform added in Update 3, sitting in the middle of the new Ocean biome stretch. It is reached by swimming out from the coastal road, and it serves as a repeatable mid-tier loot landmark rather than a floating random pickup.
How do you reach the oil rig in Last Stop?
Drive the bus into the Ocean biome until you reach the coastal road, park the bus safely on the shoulder, then dive into the water and swim out to the rig's silhouette. Expect a long swim, ocean zombies in the shallows, and a shark patrolling the deeper water on the way out.
Is the oil rig part of the last stop ocean update?
Yes, the rig was added as part of the last stop ocean update alongside the swimmable ocean, ocean zombies, the shark, and the new coastal road. It is the only fixed-structure landmark in the new water segment, which makes it the most reliable target for Ocean biome loot runs.
Do you need a specific class or build to clear the rig?
No specific class is required, and the rig is intended to scale with whatever build you are currently running. Community testing shows that any class with reasonable stamina and a mid-tier weapon can complete the run, though classes with mobility perks make the swim out noticeably easier.
Does the oil rig help with the 100,000-mile challenge?
Yes, the rig is one of the routine loot stops that supports the last stop 100000 miles grind, because it offers a reliable mid-tier drop in the new biome. Running the rig on each coastal pass adds up over a long session and helps bridge the loot gap between the coastal road and the deeper 100,000-mile reward tier.