
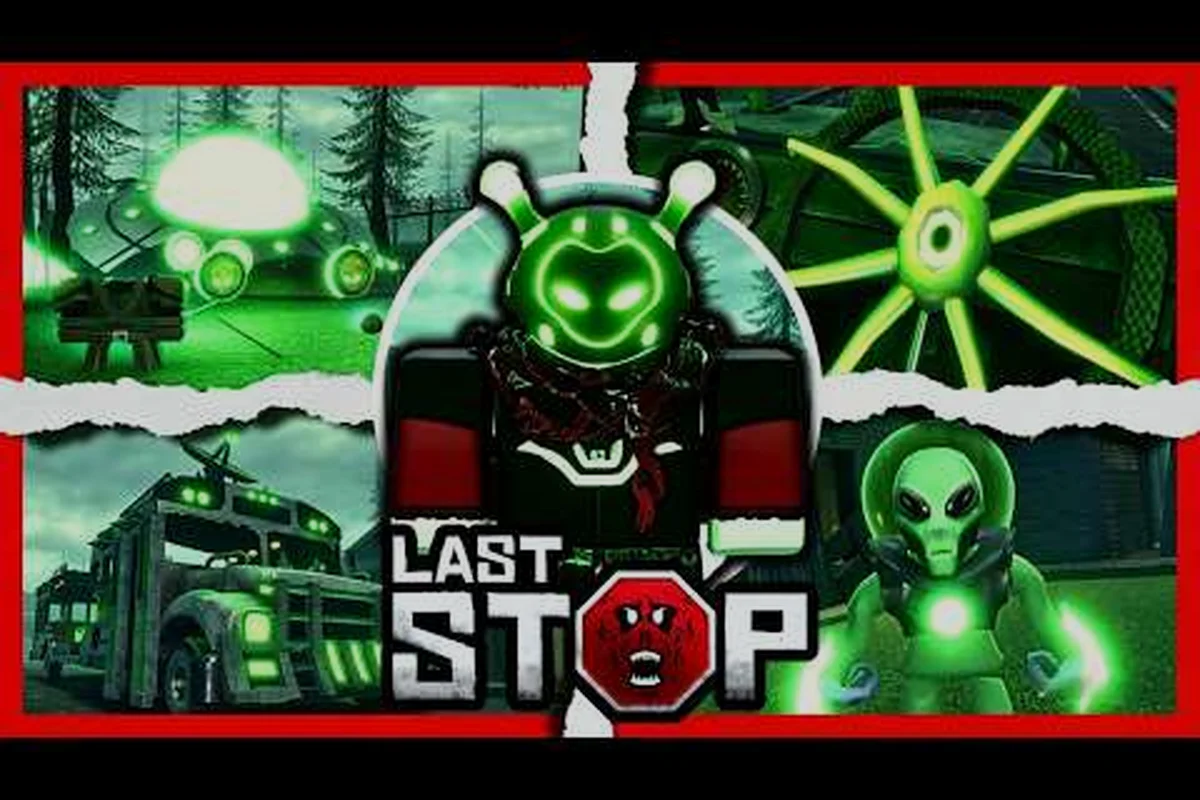
The last stop alien mothership is one of the trickier Nightmare-mode gates because it layers a flying strafing pattern on top of a shielded phase that punishes greedy reloads. If your bus has been skipping armor tiers all run, the wide-open arena will eat your squad before the second sweep. This guide breaks down the shield-break timing, ranged damage windows, and kiting routes that the community uses to keep the mothership grounded long enough to burn it down.
What the Alien Mothership Is and Why It Matters
The last stop alien mothership is the aerial Nightmare-mode variant of the UFO enemy family, scaled up to boss-tier HP and given a strafing laser pattern that sweeps the entire arena. Unlike the standard UFO encounters that show up near road-side spawn points, the mothership is positioned as a hard gate that decides whether your run can push into the deeper true-ending branches. According to community testing shared by players in run-recap videos, the mothership scales harder than the standard UFO — a duo that melts a regular UFO in under a minute can still wipe twice to the mothership if they walk in without wall traps and a fresh ammo belt.
It is not a story-mode wall. The mothership sits in a mid-to-late Nightmare bracket, meaning you can technically skip it by avoiding its trigger zone, but doing so locks you out of the segment of the ending tree that requires the alien-class upgrades. The official community wiki-style breakdowns on the broader boss roster page confirm that the mothership is the most common wall for players trying to push the true ending on a second or third Nightmare run, because it is the first boss where shield-break timing — not raw damage — decides the outcome.
| Attribute | Standard UFO | Alien Mothership |
|---|---|---|
| Encounter tier | Road spawn, common | Nightmare gate, scripted |
| Movement pattern | Hover-and-dive | Continuous horizontal strafe |
| Shield mechanic | None | Two-phase directional shield |
| Recommended trap coverage | 1-2 wall traps | 4-6 wall traps minimum |
| Solo clear time (community avg.) | About a minute | 2-4 min |
| Most common wipe cause | Aggro ping-pong | Greedy reload during strafe |
Where the Mothership Sits in the Roster
Within the broader Last Stop boss order, the mothership slots in alongside the Military boss, the Vampire Lord, Anubis, and Fred as the finale. The Military encounter is a different fight — it is a ranged kite with gunners and an open field — and it does not share a shield mechanic with the mothership, but players often learn the kiting habits that the mothership demands by failing the Military boss a few times first. If you have already cleared the Military boss and learned to read gunner telegraphs, the strafing laser of the mothership will feel like a faster, more aggressive version of the same pattern.
What makes the mothership the finale rather than just another boss is that the fight is gated behind Nightmare mode, so most crews meet it for the first time with gear that has never been tested against an anti-air encounter. That is why the community routes the encounter as a squad check rather than a damage check: the shield rotation and the EMP windows punish a team that has not assigned firing angles in advance.
The whole finale is documented end to end in HorrorJackStar's all-endings and final-boss run, which is the cleanest frame-by-frame reference for how the shield rotation lines up with a squad's assigned firing angles.
Mothership Shield Phases and How to Read Them
The last stop alien mothership has two shield states that rotate on a brief-cycle rhythm based on community run data, and each state punishes a different mistake. The first state is the closed-shield phase: the ship faces forward, the front arc glows, and any projectile fired into that arc is absorbed. The second state is the open-flank phase: the ship rolls 90 degrees to expose its side panels, and the side arc becomes the damage window. Players who try to brute-force damage through the closed phase will burn rockets and bullets for zero HP loss — that is the single biggest reason squads wipe on attempt one.
The telegraphs are readable if you watch the ship's body, not its lasers. When the rear thrusters flare and the body rotates, you have a brief window to swap firing angles. Community footage shows that experienced players pre-aim at the flank they expect to expose and only fire the moment the roll completes — peeking with a single shot to confirm the state is a habit that costs damage but saves ammo.
Damage Windows and Reload Discipline
The biggest mechanical trap is the reload. Reload time on most Last Stop ranged weapons is a short window, and the mothership's strafe cadence means a full strafe sweep crosses the entire arena in several seconds. If you reload during the strafe, you are locked into the firing animation and cannot reposition until the reload finishes, which usually puts you directly under the next laser pass. Players in shared Nightmare run videos consistently recommend canceling reloads with movement the moment the strafe telegraph appears — even if it means dumping the remaining round into the ground.
| Weapon slot | Best use during mothership | Why |
|---|---|---|
| Wall traps | Pre-fight setup, 4-6 minimum | Free passive damage, draws aggro away from bus |
| Rocket launcher | Closed-shield phase, fired at thrusters | AoE damage ignores directional shield on hit |
| Sniper / long rifle | Open-flank phase only | High per-shot damage during the 4-sec window |
| SMG / sidearm | Emergency strafe-break weapon | Fires while moving, low per-shot but constant |
| Melee | Never | Mothership is airborne the entire fight |
Wall traps deserve a specific callout. Unlike most Last Stop bosses where wall traps are a nice-to-have, the mothership's strafing pattern makes them effectively mandatory because they are the only damage source that fires regardless of which way the ship is facing. Set them up in a tight cluster near your bus's parking spot before the fight starts; if you build them mid-fight, the strafe will catch you while you are in the build animation.
Loadout and Bus Setup for the Mothership Run
Because the mothership is a ranged kite, your bus is less of a tank and more of a mobile cover. The community-recommended setup is a bus with the Snow Plough grill (it ignores the small ground enemies the mothership spawns as adds during the fight), at least one tier of bulletproof windows, and a fuel tank large enough to reposition twice across the arena. Players who bring the bulletproof window slot into the mothership run report fewer squad wipes because the adds cannot shoot through the side glass while the squad focuses on the boss. If you have the Alien bus unlocked, its passive bonus pairs naturally with this fight — the alien-class perks stack with wall-trap damage — but the mothership is beatable in a standard armored bus as long as the armor tier is at metal or above.
For the weapons slot, the priority order is: one rocket launcher for thruster shots, one long rifle or sniper for the open-flank window, and one fast-firing sidearm for the strafe-break moments. Skip the slow reload weapons entirely — a bolt-action rifle is technically higher per-shot damage than the sniper, but the slow reload makes it a liability during the open-flank phase. Players who have already pushed through the Military base section in earlier legs of the same run often have these weapons banked; if you do not, the boss strategy breakdown for the Military fight lists which bus stops reliably spawn the right weapon tiers for this bracket.
| Loadout slot | Recommended | Acceptable fallback | Skip |
|---|---|---|---|
| Bus armor | Metal tier or higher | Reinforced wood | Fiberglass / starter |
| Bus grill | Snow Plough | Saw Grill | Default (no grill) |
| Bus windows | Bulletproof x1 | Reinforced x2 | None / wood |
| Primary weapon | Sniper / long rifle | Assault rifle | Bolt-action |
| Secondary weapon | SMG / sidearm | Saw-blade launcher | Heavy cannon (too slow) |
| Heavy weapon | Rocket launcher | Grenade x3 stack | None |
| Class | Alien (if unlocked) | Ranged starter | Melee starter |
Pre-Fight Checklist
Before you trigger the mothership, do four things in this order. First, drop wall traps in a tight cluster within 10 meters of your bus, with at least one trap angled to cover the path the ship uses when it rotates out of the closed-shield phase. Second, park the bus so the snow plough grill faces the most common add spawn direction. Third, refill the fuel tank and restock at the terminal if a town is within driving distance. Fourth, swap to the Alien class if you have the tickets banked, because the class perk boosts wall-trap damage by a meaningful margin on this specific boss.
Kiting Routes and Positioning That Actually Work
The last stop alien mothership is built around strafing lasers that sweep the arena in horizontal passes, and the only reliable counter is to keep moving perpendicular to the strafe. Standing still is a guaranteed hit; running parallel to the ship keeps you in the laser line; only running perpendicular puts distance between you and the next pass. Players who clear the fight consistently use one of two kiting routes: the bus-anchor route, where the squad stays within 5 meters of the bus and uses it as cover between strafes, or the perimeter route, where the squad runs the arena edge in a wide loop and only regroups during the open-flank phase.
The bus-anchor route is safer for squads of two or fewer because the wall traps stay in range. The perimeter route is faster for a full four-player squad that can split damage across both flanks, but it requires the squad to be in voice chat or well-practiced, because a player who breaks the perimeter becomes a free target. In both routes, the rule is the same: never stop moving unless you are firing into the open flank, and even then, only fire for the short window the flank is exposed.
| Route | Best squad size | Risk profile | damage ceiling |
|---|---|---|---|
| Bus-anchor | 1-2 players | Low — wall traps hold aggro | Medium |
| Perimeter loop | 3-4 players | Medium — requires coordination | High |
| Hybrid (anchor for adds, loop for boss) | 2-3 players | Low-medium | Medium-high |
| Stand-and-shoot | Any | Extreme — wipes within one cycle | N/A |
Add Management During the Fight
The mothership spawns ground adds in waves, usually one wave per shield rotation. These adds are not the threat — the strafing laser is — but they pin you in place if you try to clear them at range, which is exactly when the next strafe catches you. The community workaround is to let the wall traps handle the adds and only intervene if a special add (a runner-type with a gun) closes to melee range. The alien enemies guide breaks down which adds can be safely ignored and which need a fast sidearm tap to peel them off the bus.
Common Mistakes and How to Avoid Them
Three mistakes cause the majority of mothership wipes. The first is firing rockets during the closed-shield phase — they splash on the shield and do nothing, and the reload lock afterward is what gets you killed. The second is chasing the ship across the arena. The mothership moves faster than any player on foot, so the chase wastes stamina and leaves you out of position for the next strafe. The third is trying to clear adds first. The adds are a distraction mechanic; the wall traps are there specifically so you can ignore them.
A fourth, less obvious mistake is bringing a melee class into the fight. The mothership is airborne the entire encounter, which means brawler-class abilities have no target. If the only class you have unlocked is brawler, this is the fight where you go back and grind a few class tickets to unlock ranger at minimum. The boss tier ranking breakdown rates the mothership as a hard C-tier for brawler specifically because of this airborne lockout, and an A-tier for the alien class thanks to the wall-trap damage bonus.
When to Reset and Re-Try
If your squad wipes twice on the same attempt, the answer is not a third try with the same loadout. Reset, refill ammo at the town terminal, and check whether the wall traps actually triggered — a common bug is that wall traps built during the previous leg of the run despawn when you cross the mothership trigger zone, and an empty arena is a guaranteed wipe. Build fresh traps before the third attempt, swap to alien class if you have the tickets, and only then re-engage.
Advanced Tips for Solo Mothership Clears
The last stop alien mothership is technically soloable, but the margin is thin. Solo players need to lean harder on the bus-anchor route, which means the bus armor tier matters more than it does for a four-player squad. The recommended solo setup is a metal-tier bus with bulletproof windows, six wall traps in a tight cluster, and a class that buffs either wall-trap damage or ranged damage. Alien is still the best, but if you do not have it unlocked, ranger works because the ranger passive keeps your reload cancel window shorter.
The other solo-specific tip is the thruster trick. During the closed-shield phase, the rear thrusters are the only weak point that takes damage regardless of shield orientation. Firing a single rocket at the thrusters every rotation does meaningful chip damage and is the reason solo clears take 2-4 minutes instead of 5-6. It is not a fast kill, but it is a consistent one, and consistent is what solo runs need.
| Solo tip | Why it works | Risk if ignored |
|---|---|---|
| Pre-build 6 wall traps | Doubles passive damage | Wipe on first strafe |
| Aim at thrusters during closed shield | Only consistent damage in that phase | Burns ammo, no progress |
| Use bus as cover between strafes | Wall traps hold aggro | Open-field exposure |
| Cancel reloads to reposition | Avoids strafe-lock animation | Eats the next laser pass |
| Skip add clearing | Wall traps handle them | Pin-locked during strafe |
Putting the Mothership Run Together
The full mothership encounter takes about 5-8 minutes if you execute the shield rotation correctly, longer if you are learning. The flow is: drive into the trigger zone, immediately drop the wall-trap cluster within 10 meters of the bus, swap to your ranged loadout, wait for the first shield rotation, fire one rocket at the thrusters during the closed phase, then commit your sniper window to the open flank. Repeat the rotation four to six times, ignoring adds, and the ship will drop. Loot the wreckage — the mothership drops alien-class upgrade materials on a fixed table, plus a small chance of a legendary blueprint — and either push deeper into the Nightmare ending branch or extract back to the highway loop if your bus is low on fuel.
The mothership is a gear check and a habits check at the same time. Players who have already internalized the kiting routes from the Military boss will find the mothership a faster, more aggressive version of the same pattern, and the shield mechanic is the only new layer. If you can read the ship's body rotation and resist the urge to brute-force damage through the closed shield, the rest of the fight is repetition.
Frequently Asked Questions
Is the alien mothership a required boss in Last Stop?
It is not required to finish the standard ending, but it is required for the true-ending branch tied to the alien-class upgrades. Players who skip the trigger zone can still push to Fred, but they will lock themselves out of the segment of the ending tree that depends on alien-class perks. According to community run data, roughly half of Nightmare-mode players hit the mothership at least once on the path to the secret ending.
What is the best class for the alien mothership fight?
Alien class is the strongest pick because its passive directly boosts wall-trap damage, and wall traps are the only consistent damage source during the closed-shield phase. A ranged starter class is the best fallback because its reload-cancel passive shortens the dangerous animation lock. A melee starter is the worst pick because the mothership is airborne the entire fight, which neutralizes melee abilities.
How many wall traps do I need for the mothership?
Six is the community-recommended minimum for a solo run, and four is the bare floor for a duo. The reason the number is higher than for most Last Stop bosses is that the mothership's shield mechanic blocks half of your active damage, so the passive wall-trap damage has to make up the difference. Players who bring fewer than four wall traps report an average clear time that is roughly a minute or more longer and a significantly higher wipe rate on the first two shield rotations.
Can the mothership be soloed without the alien class?
Yes, but the margin is thin. Solo players without the alien class should run the bus-anchor route with a metal-tier bus, focus the thruster trick during the closed-shield phase, and bring a sniper for the open-flank window. The clear time stretches to 4-5 minutes without the alien-class wall-trap bonus, and the wipe rate on the first attempt is noticeably higher, but it is a consistent clear once you learn the rotation. The broader Last Stop bosses overview lists the mothership as a soloable encounter for any class that has access to a ranged weapon and a wall-trap kit.