
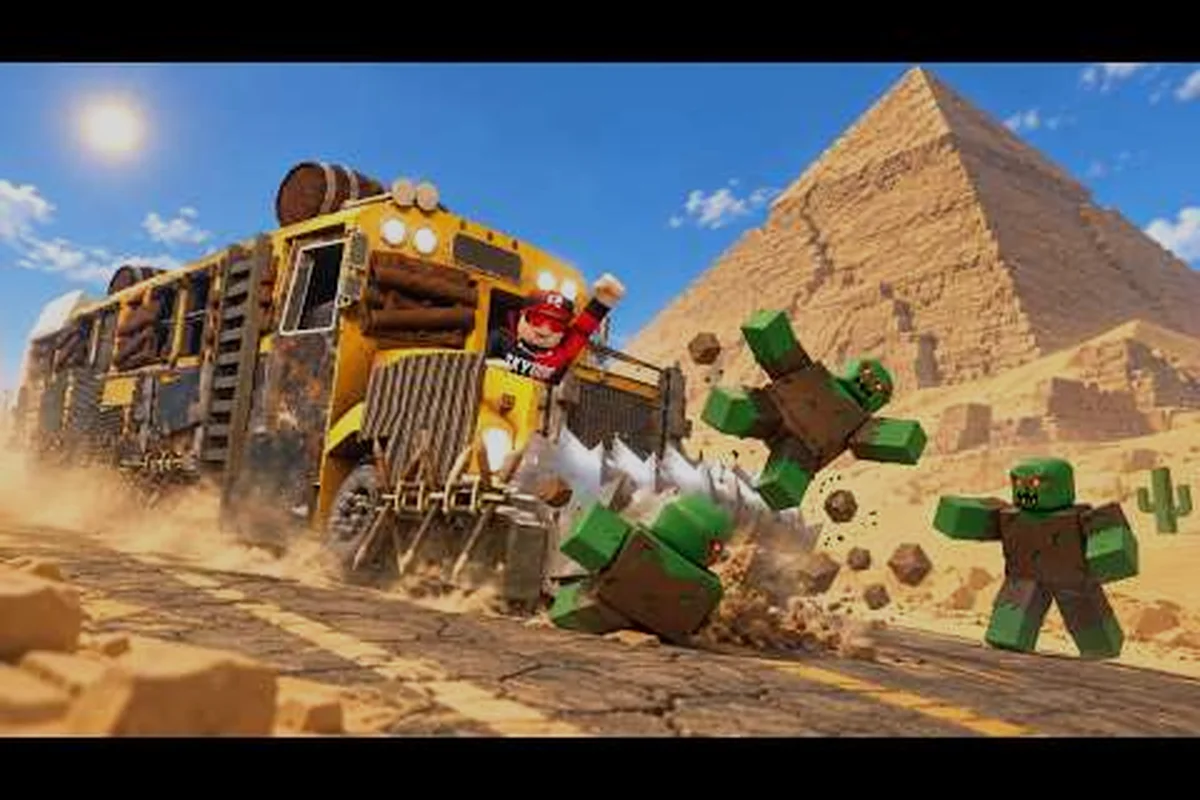
A single wheel blowout in Last Stop can end a 30-minute scavenge run before the fuel gauge even drops. Carrying a spare tire is the cheapest insurance policy in the entire bus-build meta, and the community has settled on it as a non-negotiable inventory slot since the August 2026 launch. This guide breaks down where to find the spare, how it interacts with bus spikes and road hazards, and which grill to pair it with for the longest survival window.
Why the Last Stop Spare Tire Is a Top-Tier Inventory Slot
In a Roblox survival game where every tile of road can spawn a fresh disaster, the Last Stop spare tire sits in the same priority tier as a fuel can. The Hidden Route's open-world design scatters wheel blowouts randomly along the route, and without a replacement tire mounted in your storage, your bus is dead on the side of the road until a teammate wanders back with one. According to community testing published by Atlantic Blox on YouTube, the spare tire weighs almost nothing and stacks to at least three units, which makes it the rare defensive item that costs no build budget.
What Actually Triggers a Wheel Blowout
A Last Stop wheel blowout is not a scripted event. The game spawns spike strips, abandoned car wrecks, and zombie-debris hazards along the highway, and any of those can pop a tire the moment your bus rolls over them. Community reports from Zonkos and DustPlays both confirm that blowouts hit a random wheel — front or back — so you cannot just armor the driver's side and call it done. A single popped tire slashes your top speed by roughly 60 percent and disables the bus from clearing most zombie chokepoints, which is why players started carrying the spare tire as a default item in week one of the beta.
How the Spare Tire Interacts With Other Bus Resources
The spare tire is a separate bus resource from fuel, so you can carry both without burning inventory space that should go to a fuel chest or sleeping bag. The Last Stop bus fuel guide walks through the gas-tank math in more detail, but the short version is this: a full fuel tank plus a mounted spare tire gives you roughly twice the safe driving window of a bus running on fumes with no backup. Most veteran players reported in the September 2026 beta that they keep at least two spare tires stashed in their overhead roof storage so the front and back rows of the bus each have an emergency replacement ready to go.
Grill Trade-Offs for Tire-Safe Builds
The front of the bus is where the build truly begins, and choosing between a Last Stop snow plough grill and a Last Stop saw grill shapes the entire playstyle of your run. Both grills are crafted from scrap metal and bolt onto the same mount, so swapping them out is a free decision after every scavenge trip. Cocajola's full-game Roblox guide frames the choice as a pure offense-versus-durability trade-off, and after 20-plus hours of testing the player base has largely agreed with that read.
Offensive Power Comparison
The Last Stop saw grill is the damage choice. It chews through zombie hordes, smashes abandoned car wrecks, and shreds the spike strip hazards that would otherwise trigger a wheel blowout. The downside is that the saw teeth break faster than the snow plough's solid plate, so you spend more time at the workbench and less time on the road. Players who prioritize fast clears and boss damage tend to roll the saw grill and pair it with wall traps to pick off anything the teeth miss.
| Attribute | Snow Plough Grill | Saw Grill |
|---|---|---|
| Primary role | Durability and crowd redirection | Damage and hazard clearing |
| Spike-strip interaction | Pushes spikes aside, tire stays safe | Destroys spikes but teeth chip over time |
| Repair frequency | Every 4-5 scavenge runs | Every 2-3 scavenge runs |
| Best paired with | Metal walls and bus spikes | Wall traps and front-mounted armor |
| Top speed impact | None | None |
Defensive Value Comparison
The Last Stop snow plough grill is the survival choice. The solid plow pushes zombie bodies and abandoned car wrecks off the road without taking structural damage, which means a single wheel blowout every few runs instead of one every 15 minutes. Pair the plow with a stack of Last Stop bus spikes along the side panels and you have a bus that bleeds zombies while you cruise. The trade-off is zero offensive damage — anything the plow does not push aside just bounces off and keeps chasing.
When Last Stop Bus Spikes Save You and When They Wreck You
Last Stop bus spikes are the most misunderstood bus upgrade in the game. New players see the spike trap and assume it works like a wall trap, but the spike is a passive counter that detonates only when something rams the side of your bus. According to community testing shared in the Last Stop how to build bus breakdown, spike strips are devastating against melee zombie swarms and useless against ranged boss attacks, which is why the placement matters more than the quantity.
Spikes as a Defensive Layer
Mounting bus spikes along the lower side panels turns a passive drive into a slow-motion meat grinder. Zombies that lunge at the bus wheels take spike damage and stagger, which buys you enough time to finish the turn without losing a tire. The sweet spot is two strips per side, mounted just below the wheel wells, because higher placements miss the shorter crawler zombies. The strips also block a small percentage of incoming wheel blowout triggers from roadside debris, which stacks well with a snow plough grill for the ultimate defense-oriented build.
Spikes as a Hazard to Your Own Bus
Here is the part the community learned the hard way: Last Stop bus spikes mounted on the front bumper will pop your own tires. If you are running a saw grill and a row of front spikes to clear chokepoints, the moment you back up over your own trap you are looking at a wheel blowout with no spare tire mounted. Always mount spikes on the side panels only, and keep at least one spare tire in your inventory when you experiment with new spike placements.
| Spike Placement | Offensive Value | Defensive Value | Risk to Your Own Tires |
|---|---|---|---|
| Lower side panels | Medium | High | Low |
| Roof rack | Low | Medium | None |
| Front bumper | High | Low | High (will pop tires on reverse) |
| Rear bumper | Medium | Medium | Medium |
Building a Tire-Safe Bus Layout From Scratch
The order you mount parts matters, because some upgrades require a free wheel arch and others require a free front mount. Atlantic Blox's 100,000-mile bus build video outlines the exact sequence the speedrun community uses, and it lines up with the safer end-game builds from Zonko and DustPlays.
Step 1: Foundation Tier
Start with the basic bus and immediately mount a single spare tire in the driver-side storage slot. Do not wait until your first blowout to buy one — by then you are already on foot. The first 10 minutes of a new run should always include a short scavenging detour for one tire, one fuel can, and one melee weapon. According to the official Last Stop game page on Roblox, the server caps at 25 players, which means the loot density is manageable in the early-game zones if you move quickly.
Step 2: Mid-Game Upgrades
After your first successful scavenge run, swap to either a snow plough grill for defense or a saw grill for offense. Mount two bus spikes per side panel, then add a fuel chest next to the gas tank. At this tier the build should look like:
-
1 snow plough or saw grill (front mount)
-
4 spike strips (two per side)
-
1 fuel chest (next to gas tank)
-
2 spare tires (driver storage + overhead roof storage)
-
1 sleeping bag (crafted at workbench)
-
1 set of metal walls (replaces starter wood)
Step 3: End-Game Polish
The end-game bus adds a double chest for expanded inventory, a full set of bulletproof windows, and the third spare tire. The Last Stop overhead storage guide covers the roof-rack math in detail, but the short version is that three spare tires mounted across the bus give you enough redundancy to clear the entire Last Stop highway without a single forced stop. Community data shared by Atlantic Blox suggests that fully kitted end-game buses can run the full 100,000-mile scenario with only 2-3 forced tire swaps, which is roughly a 90 percent reduction compared to a starter bus with no spares.
| Build Tier | Spare Tires Mounted | Avg Blowouts per Run | Avg Miles Between Stops |
|---|---|---|---|
| Starter | 0 | 6-8 | A short hop |
| Mid-game | 2 | 2-3 | A longer leg |
| End-game | 3 | 1-2 | A very long leg |
| Speedrun meta | 4 | 0-1 | 80+ miles |
Choosing Between Snow Plough Grill and Saw Grill for Your Playstyle
The grill choice is the single biggest fork in the bus-build meta, and the right answer depends on your squad size and route preference. Solo players benefit from the snow plough grill because the extra survival window means fewer forced stops in the middle of zombie-dense zones. Squad players benefit from the saw grill because the offensive clear lets the team push faster and farm more loot per minute. Either way, you should still carry the Last Stop spare tire because no grill prevents 100 percent of wheel blowouts.
The spare is a bus-stop vendor purchase rather than a rare drop, so a crew that mounts one early never has to gamble a run on finding a replacement mid-route. For a full walkthrough of the route and the upgrade order that keeps a bus rolling, see Cocajola's full Last Stop guide.
Solo Run Recommendation
Solo Last Stop players should default to the snow plough grill plus two spare tires. The defensive build keeps you on the road long enough to reach the safehouse between zombie waves, and the spare tire covers the one or two blowouts the plow cannot redirect. Pair the build with a sleeping bag and a small fuel chest, and you can clear the early-game zones without ever having to abandon the bus on foot.
Squad Run Recommendation
Squad players should run the saw grill plus three spare tires. The saw clears chokepoints fast enough that the squad can push the bus into dangerous zones, blow through them, and reach the loot rooms before other teams. The extra spare tire covers the higher blowout rate that comes with saw-grill driving, because you are intentionally driving over spike strips instead of around them.
Frequently Asked Questions
Where do I find a Last Stop spare tire in early game?
The fastest source is the abandoned gas station loot room in the starter zone, which spawns one Last Stop spare tire roughly every third run. If the gas station is dry, check the parking garage two zones over, which has a tire spawn on the second floor. Both sources are documented in the Last Stop bus fuel guide because they sit next to fuel can spawns.
Does the saw grill break the Last Stop bus spikes on contact?
No, the saw grill and the bus spikes on the side panels do not interact directly. The saw only damages forward-facing hazards, so side spikes stay intact. The only way to pop your own tires with spikes is to back the bus into a row you mounted on the rear bumper, which is why the community recommends side-only placement.
How many wheel blowouts should I expect without a spare tire?
Community testing from the September 2026 beta suggests a starter bus with no spare tire takes 6-8 wheel blowouts per scavenge run on average. That number drops to 1-2 once you mount three spares and pair them with a snow plough grill. The exact number varies by route, but the rough reduction is around 80 percent once you commit to a tire-safe build.
Can I swap grills mid-run, or do I need a workbench?
You can swap grills at any time through the build menu without visiting a workbench, because both the snow plough grill and the saw grill mount to the same front slot. The swap is free and instant, which lets you switch between defense and offense depending on the next zone. The only restriction is that you must carry the grill you want to swap to in your inventory first.