
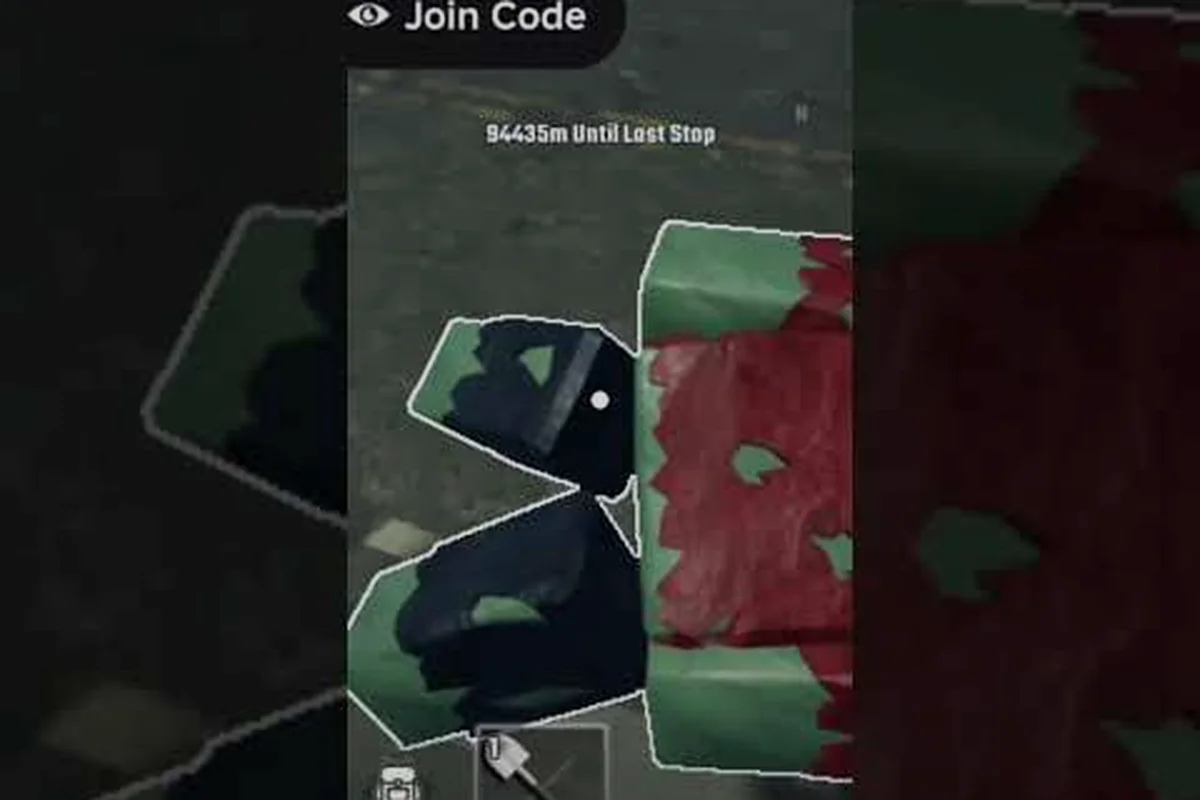
Acid rain is the scheduled environmental hazard that drains bus HP, your squad, and loose zombies while a green tint kills visibility across the map. This guide covers how to read the warning signal, when sheltering with a sleeping bag beats fighting through the storm, and how to survive Last Stop acid rain without burning the healing items reserved for boss waves.
What Acid Rain Does in Last Stop and Why Timing Matters
Acid rain in Last Stop is an environmental hazard that rolls across the map on a set schedule, dumping damage on anything caught in the open. The core mechanic is simple: while the rain falls, your bus, your squad, and any loose zombies take continuous damage, and visibility drops hard because the sky darkens to a sickly green. Because the bus is the only persistent home base you can drive between zones, losing it to acid damage means losing every wall trap, sleeping bag, and storage crate you bolted to the frame. That is why Last Stop acid rain planning is not an optional detail for late-game runs; it is one of the first habits experienced players build into their route.
The rain event is treated by the community as a skip mechanic rather than a fight. According to community data shared by streamers running the Ocean biome beta, the accepted play is to drop a sleeping bag, pass the storm, and resume the run on the other side. Trying to brute-force your way through exposes your bus to a full HP drain and forces your crew to spend healing items that should be reserved for boss waves. For new players still learning Last Stop how to survive acid rain, the lesson is the same one veterans repeat in every clip: shelter beats combat, and timing beats both.
| Aspect | During Acid Rain | Between Storms |
|---|---|---|
| Bus HP | Drains continuously | Stable, no decay |
| Zombie aggro | Reduced, mobs scatter | Normal aggro rules |
| Visibility | Heavy green tint | Clear daylight |
| Best action | Sleep or stay under roof | Drive, scavenge, fight |
| Healing item cost | Avoid spending | Save for waves |
The other reason timing matters is that acid rain only intersects certain routes. If your bus is parked in a wide open desert stretch when the sky turns green, you cannot outrun the damage ticks. If you are inside a building with a roof, you take shelter damage only and your sleeping bag remains safe. Reading the timer and pairing it with your route is the single biggest lever you have for Last Stop how to survive acid rain without burning through your med stash.
Reading the Sky, the Timer, and the Route Swaps
Acid rain does not arrive at random in Last Stop. The map posts a warning tint, a cloud event begins, and the rain falls for a fixed window before clearing. Players who learn to read those three signals ahead of time convert the hazard into a free camp timer. If the warning tint appears while your bus is rolling toward a known shelter spot, the right move is to floor it, dock, and immediately drop a sleeping bag. If the warning appears mid-loot, the right move is to cancel the looting animation, sprint back to the bus, and shelter in place.
Route swaps are the second tool. Because the storm deals area damage, drivers can choose to detour through a tunnel-adjacent area, a cave entrance, or any tight urban block with overhead cover. Veterans running the September 2026 build recommend pairing shelter spots with a quick scavenge so the time spent waiting still produces loot. This approach is consistent with the broader pattern seen across the Last Stop zombie guide where positioning matters more than raw damage.
Storm Phase Checklist
-
Warning tint — pull toward the nearest building with a roof and clear the doorway of any zombie spawns before parking.
-
Drop phase — once the rain starts, place the sleeping bag on the bus floor or any solid tile, then interact to pass time. Do not sleep outside.
-
Recovery phase — when the sky clears, the road returns to normal aggro rules; recheck your bus HP, re-equip your primary weapon, and resume the route.
| Shelter Type | Cover Quality | Risk of Zombies | Best Use |
|---|---|---|---|
| Bus interior | High (with sleeping bag) | Low, you control space | Default, always available |
| Building with roof | High | Medium, mobs may wander in | When bus is far or low HP |
| Tunnel or cave | Very high | Low | Long storms, low healing stock |
| Open road | None | High | Never, only for emergency repositioning |
The third timing tool is the bus route itself. Because Last Stop uses a road-based traversal system, drivers can backtrack a short distance to a previously cleared shelter. That kind of micro-route swap turns Last Stop acid rain from a run-ending event into a planned coffee break. Players running Nightmare Mode confirm that the bus route is always longer than a direct path, but the trade-off in safety is worth the extra fuel.
Enemy Types You Will Meet Around Acid Rain Zones
Acid rain does not only change the weather; it changes which Last Stop enemy types patrol the area. Because the storm scatters and stuns some zombies while aggroing others, you tend to see a wider mix of threats clustered near the shelter spot after the rain ends. The community lists brute zombies, bandits, aliens with UFOs, and military soldiers as the four most common spawns in the post-storm cleanup window, and each one punishes a different mistake.
The brute zombie is the most iconic because it cannot be cheesed with ranged kiting in tight space. According to community testing, the standard counter is doorway cheese and backpedal kiting: let the brute path into a narrow entrance, then step back so it can only swing once before resetting. This pairs naturally with a strong melee weapon, and the loot drop often includes high-value crafting parts. For a deeper breakdown, the Last Stop enemy spawn walkthrough shows how brute spawns spike after the storm clears.
Bandits are the second pillar of the Last Stop enemy types list. They attack with firearms, so the first thing to do is close distance, then punish their reload window. If you are sheltering indoors, you can use the doorway to force the same pattern: let the bandit empty a magazine, then step out for a one-shot punish. UFOs and aliens are the third pillar, and they ignore doorway cheesing because they fire from range. Wall traps and high-damage ranged weapons are the standard counter, which is why your bus should always carry at least one turret or wall trap kit before a storm.
| Enemy Type | Weapon | Weakness | Drop Quality |
|---|---|---|---|
| Brute zombie | Slow melee swing | Doorway kiting, backpedal | High, crafting parts |
| Bandit | Mid-range firearm | Reload window punish | Medium, ammo and cash |
| Alien / UFO | Long-range plasma | Wall traps, cover | High, rare modules |
| Military soldier | Rifle burst | Focus gunners first | Medium, attachments |
The fourth pillar, military soldiers, is the most dangerous in a group because they spawn in pairs with one gunner and one brawler. According to community reports, the safest opener is to isolate the ranged gunner with a doorway funnel and clear it first, then collapse on the melee soldier. Failing to remove the gunner first will drain your HP through walls during the storm, which defeats the purpose of sheltering in the first place.
How to Loot Zombies Safely After the Storm Clears
Looting is where acid rain becomes a profit window rather than a survival tax. Because the rain drives zombies into a stunned state near the end of its duration, the post-storm about a minute are the cleanest time to convert kills into inventory. The standard Last Stop how to loot zombies loop is to clear the doorway of any stragglers while the bus is parked, drag the corpses onto a surface, and click to harvest. Each body can yield cloth, scrap, ammo, or rare crafting parts depending on the zombie type.
The drop table is also where Last Stop zombie drops matter most for long-run economy. According to community data compiled from early September 2026 streams, the average drop per zombie breaks down roughly as: above average common scrap, low cloth or ammo, very low mid-tier crafting parts, and minimal rare modules. God zombies, by contrast, are the high-roll enemies: a single kill can drop a stack of rare materials and occasionally a unique blueprint, which is why veteran squads plan their shelter spots to be near known god zombie spawn zones.
| Drop Tier | Common Zombies | God Zombies |
|---|---|---|
| Scrap and cloth | High chance | Guaranteed |
| Ammo | Medium chance | High chance |
| Crafting parts | Low chance | Very high chance |
| Rare modules | Very rare | Always at least one |
The body-management side of Last Stop how to loot zombies is also where the corpse sack mechanic pays off. Players can craft a sack at a workbench, equip it, and then drag zombie corpses to convert them into a sellable bundle rather than loose inventory. This is one of the most efficient ways to free up bag space mid-route, and it stacks well with the post-storm loot window because the bus is already parked. The full corpse-to-sack flow is covered in the Last Stop zombie corpses breakdown, which explains how to prioritize which corpses to bag and which to leave for direct crafting.
Post-Storm Looting Order
-
Clear the doorway — kill any zombie that could swing at you while your hands are full of loot.
-
Drag one corpse at a time — never multi-grab during a combat window, because a single hit cancels the drag animation.
-
Prioritize god zombies first — their unique drops decay in value if you leave them on the ground too long, and other players can scoop them.
-
Sell the rest in bulk — once the sack is full, drive to a vendor, drop the sack, and convert it to cash for bus upgrades.
The tunnel beneath the platform gradually floods with acid, and a timer dictates when the lethal deluge will arrive, forcing players to balance risk against reward as they navigate the crumbling space, and one creator's live ocean-run footage captures the same flooding timer.
Acid Rain Builds, Sleeping Bag Timing, and Bus Defense
The deepest layer of Last Stop how to survive acid rain is the build that you bring into the storm. A sleeping bag is the single most important item because it lets the storm pass without spending healing items, but you also need bus armor, a stocked med slot, and at least one wall trap to keep the doorway clear. The community consensus is to carry a minimum of one med, one sleeping bag, and one wall trap per squad member, and to upgrade the bus to at least tier 2 plating before any route that crosses a known storm zone.
Sleeping bag timing is also where the Last Stop enemy weaknesses and the Last Stop god zombies patterns overlap. Because god zombies often spawn after environmental events, the smart play is to plant the sleeping bag at the end of the rain, not at the start. You will wake up the moment the sky clears, which is exactly when the god zombie spawn wave begins. That single timing trick is what separates a squad that just survives the storm from a squad that banks a rare drop on the way out.
| Loadout Slot | Minimum Item | Storm-Phase Use |
|---|---|---|
| Sleeping bag | One per player | Pass the storm indoors |
| Med kit | Two per player | Recover if forced outside |
| Wall trap | Two per bus | Funnel the doorway |
| Spare ammo | 60+ rounds | Handle post-storm bandits |
| Repair kit | One per bus | Patch bus HP after ticks |
The bus itself is the final piece. Because acid rain deals flat damage ticks to the bus frame, leaving it parked in the open will eventually destroy walls and traps. Drivers should rotate the bus so the reinforced side faces the prevailing wind, drop a sleeping bag inside the bus before the rain begins, and place a wall trap on every external doorway. According to community testing, this configuration lets a tier 2 bus take two consecutive storms without dropping below half HP, which is more than enough runway to reach the next shelter on the route.
A more advanced tactic is to chain shelter spots. If a storm is approaching and the nearest cover is a cave, you can drive to the cave, sleep through the rain, then drive the bus out the other side and chain straight into the next scavenge. Because the rain blocks the map for a fixed window, the moment the sky clears you have a clean road, no aggro, and a full inventory of sleeping-bag-free time. The longer your route planning gets, the more this loop feels like the rhythm described in the Last Stop inventory management walkthrough: every storm is a checkpoint, not a setback.
Frequently Asked Questions
How long does acid rain last in Last Stop?
Each storm runs a minute or more of active rain, plus a brief warning tint at the start. Sleeping through the entire window with a bag is the standard counter, and the rain ends cleanly with no leftover tick damage on the bus.
Should I fight through acid rain or sleep it out?
Sleeping is almost always correct because the bus takes continuous damage and zombies are scattered. Fighting wastes med kits, exposes the bus, and produces no extra loot compared with a clean post-storm clear.
Where do god zombies spawn in relation to acid rain?
God zombies most commonly appear in the about a minute right after the rain clears, often near the shelter spot you used. Parking the bus near a known god spawn zone before a storm is the cleanest way to bank a rare drop.
Can I repair the bus during acid rain?
You can place a sleeping bag, sleep through the storm, and then repair immediately after. Trying to repair mid-rain wastes a med kit because each tick cancels the repair animation, so most players delay repairs until the sky clears.