
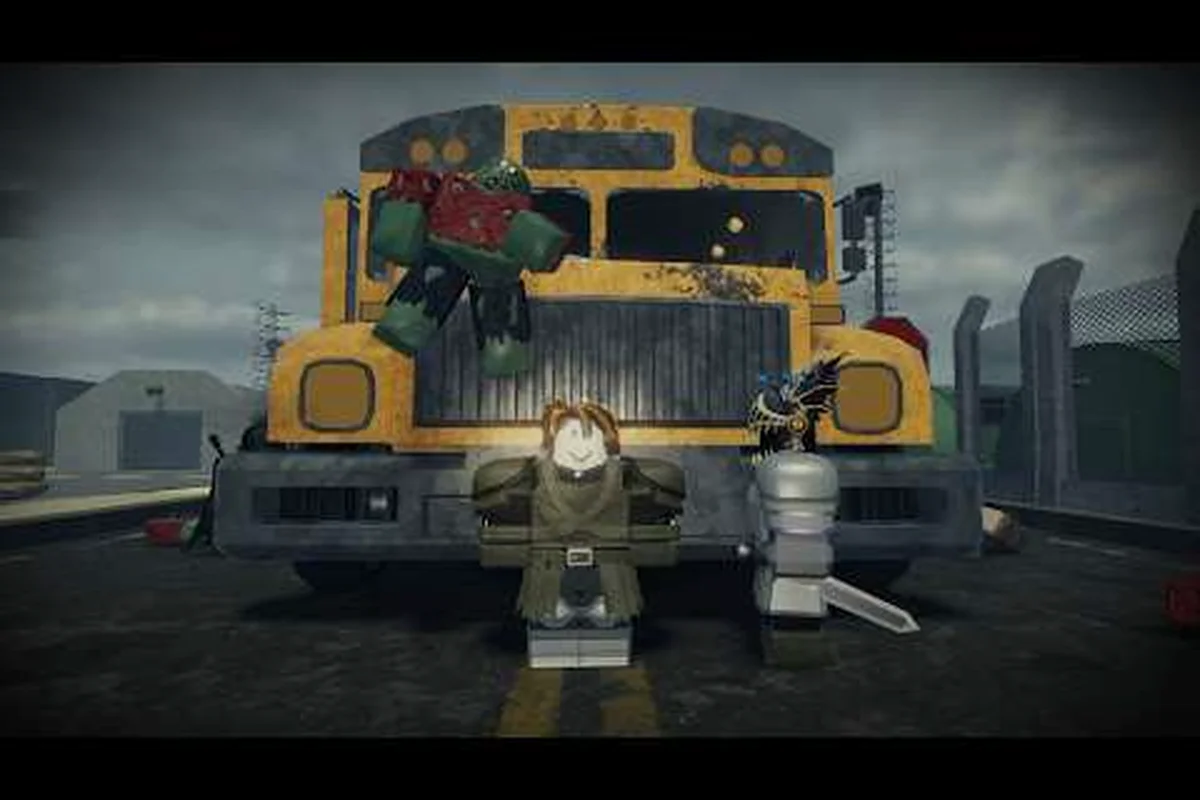
Enemy pressure in Last Stop follows a readable cadence rather than a random roll, and knowing that rhythm is what separates a clean last stop enemy spawn run from a wipe at Stop 4. This guide maps the three spawn anchors that drive every wave, the archetypes you meet along the road, and the kiting routes and resource budget that carry a squad into the final push.
How Spawns Pulse Along the Highway
Enemy pressure in Last Stop is not random — it is a predictable cadence tied to three anchors: distance markers on the highway, boss triggers at checkpoints, and night cycles that pass over the bus while it is parked. Understanding the spawn rhythm is the difference between a clean run and a wipe at Stop 4, because waves spike at very specific moments and the loot you carry into them decides whether you respawn or push to the Oil Rig. The same rhythm that gates last stop zombie waves on the early road becomes much sharper after the Update 3 ocean biome, where the shark and the new ocean zombies cluster around the rig trigger and where a poorly timed stop will cost you the run.
This guide breaks the cadence into a single timing map you can read mid-run, then walks through the last stop enemies roster, the wave-on-bus mechanic, the kiting routes that beat each archetype, and the resource budget you need to survive the final push. Every data point below comes from community testing on the September 2026 patch, cross-referenced with the Update 3 ocean biome walkthrough by HorrorJackStar and the live Update 3 capture by SekarPKXD.
Why the cadence exists
The spawn system layers three timers on top of the highway: a distance timer that escalates density every few thousand in-game miles, a checkpoint timer that triggers a boss fight and a heavy mob clear at every numbered stop, and a night timer that drops a defensive wave on the bus every time the player sleeps or drives through a dark stretch. Each layer feeds the next, so a Stop 4 boss followed by a night cycle will stack two waves back to back — and the bus without walls will melt in under a minute. The rogurt overview of the survival loop notes that sleeping bags skip the night spawn entirely, which is the single most efficient way to break the cadence when you are low on ammo.
The three spawn anchors
| Anchor | Trigger | What spawns | Recommended response |
|---|---|---|---|
| Distance timer | Every ~5,000 in-game miles | Light roamers + 1 runner per wave | Keep driving, do not stop to loot |
| Checkpoint boss | Every numbered stop on the highway | Mini-boss + 6–8 adds during the fight | Wall off one side, kite adds into the boss arena |
| Night cycle on bus | Every 90 in-game seconds while parked in the dark | 8–12 zombies per wave, scaling with biome | Drop a sleeping bag, or wall up before parking |
Reading the Wave Cadence on the Highway
The highway has its own pulse, and the last stop wave guide skill is mostly about reading when density is about to spike. Spawns escalate gradually as the odometer climbs, but the real bursts are tied to the opening legs band that surrounds each checkpoint. Drive into that band undergeared and you will eat a runner pack before you ever see the boss arena; drive into it with a full bus, walls, and a fresh class ability off cooldown, and the same spawn is a free corpse run for money and ammo.
Distance bands and density
| Distance band | Density | Dominant enemies | Threat level |
|---|---|---|---|
| The opening legs | Low | Roamers only | 1/5 |
| The early legs | Medium | Roamers + first runners | 2/5 |
| The mid-route legs | High | Runners, first brutes, bandits | 3/5 |
| The later legs | Very high | Brutes, bandits, military scouts | 4/5 |
| 70,000 – 100,000+ miles | Maximum | Brutes, military, occasional alien scout | 5/5 |
The bands are approximate — community testing on the live branch shows the density ramp shifts slightly between hotfixes, but the order of archetypes is stable. Roamers teach the controls, runners force the player to learn kiting, brutes gate progress through the first three checkpoints, and bandits and military show up once the player has the bus upgraded enough to threaten a real run. If you want the full list of archetypes and their health pools, the enemy roster breakdown walks each one in detail.
Why "drive through" is a real strategy
Most early runs lose more resources to standing still than to driving. The night cycle is a parked-bus mechanic, so every minute the bus idles in the dark is another wave timer ticking down. Experienced crews alternate one driver and one scavenger, so the bus never parks for more than a brief window at a dumpster. The night cycle only fires on a parked bus, which is why learning the solo run map helps even group players — the legs where you push through a dark stretch without stopping are almost always cheaper than the legs where you park and fight.
Enemy Roster and How Each Archetype Spawns
The spawn system does not throw the entire roster at the player at once. Each archetype is gated by either a distance band or a specific trigger, which lets the player learn the melee loop before the ranged enemies show up. Below is the full cadence as observed on the September 2026 patch.
Zombies (the base layer)
Zombies are the constant background spawn and the largest share of every wave. Three sub-archetypes matter for the cadence:
-
Roamers — the slowest zombies, single-target melee, no special ability. Spawn from mile 0 and never stop appearing. Their only job is to feed the corpse economy and to teach new players the swing timing.
-
Runners — faster zombies with a lunge. They start appearing in the 5,000–15,000 band and become the dominant trash by the 40,000 band. Runners are the reason the doorway-cheese loop works: their lunge commits, so a wall with a single narrow gap kills them for free.
-
Brutes — the doorway-kite centerpiece. Brutes have an enrage timer that doubles their swing speed for a brief window, which is why most new players die to them. Once you learn the enrage timing, brutes become the single best corpse source in the game.
Bandits and military (the ranged layer)
Bandits spawn alongside runners in the 15,000–40,000 band and carry a sidearm that does solid damage per shot. They reload slowly, so the standard advice from the community is to push them during the reload window and let the bus walls eat the burst. Military soldiers are the same archetype with a longer-range rifle and more HP; they show up at the 40,000 band and gate progress through Stop 3.
Aliens, UFOs, and the shark (the elite layer)
The last stop aliens are the rarest spawn, but they also swing the hardest. Aliens and UFOs cluster around the Update 3 ocean biome and the Oil Rig trigger, where they appear alongside the new ocean zombies and the shark. The shark in particular is a one-shot threat to a parked bus if the rig trigger is not cleared within a single wave, which is why a wall-trap setup is the recommended counter from the community. The full alien and UFO spawn map is covered in the alien enemies guide.
Roster at a glance
| Archetype | HP Band | Damage Band | First Spawn Band | Counter |
|---|---|---|---|---|
| Roamer | Very low | 8 melee | Mile 0 | Swing, no special |
| Runner | Very low | 12 melee + lunge | 5,000 band | Doorway cheese, kiting |
| Brute | Moderate | 20 melee, enrage 35 | 15,000 band | Backpedal kite, sleep the enrage |
| Bandit | Low | 15 ranged | 15,000 band | Push reload, walls |
| Military | Low | 22 ranged | 40,000 band | Clear gunners first, walls |
| Alien grunt | Moderate | 18 melee + ranged | Ocean biome | Wall trap, sustained damage |
| UFO | High | 30 area burst | Ocean biome | Wall trap + class ability burst |
| Shark | Very high | 45 melee one-shot | Ocean rig | Never let it touch the bus |
Defending the Bus During a Wave
Once a wave fires on the bus, the player has roughly a minute or more to either clear it or reset the timer. The wave scales with biome, with last stop zombie waves in the early biomes topping out at 8 zombies and ocean-biome waves hitting 14+ with a chance of a shark or UFO. The two strategies that actually work are wall-trap defense and kiting, and which one you pick depends on whether the bus is parked or moving.
Wall-trap defense
Wall traps are the single most efficient counter to UFO and alien waves. A bus with three wall panels and one trap can clear a UFO in under about a minute without losing a single wall HP, because the trap ticks for modest damage constantly and the UFO's aggro resets each time it takes damage. Build the trap at the bus corner closest to the UFO spawn, then kite the alien adds into the trap radius. The community footage linked above shows a duo squad clearing a UFO with two wall traps and a single class-ability burst from the Alien class.
Kiting and doorway cheese
When the bus is not parked, the doorway-cheese loop is the answer. Drop a single wall panel with a 1-tile gap, then backpedal through the gap while the runner or brute commits to the lunge. The lunge animation locks the enemy into a very fast recovery, which is the entire damage window for a sword swing. Repeat 8–12 times per wave and the bus rolls forward untouched. The cadence is the same one the acid-rain survival guide uses for storm windows, because both mechanics gate waves behind a timer that resets on movement.
Defensive loadout by biome
| Biome | Wall count | Trap count | Best class | Backup plan |
|---|---|---|---|---|
| Early road | 2 | 0 | Ranged starter | Doorway cheese |
| Mid road | 3 | 1 | Alien class | Wall kite |
| Late road | 4 | 2 | Alien class | Sleep the night, drive through |
| Ocean biome | 4 | 3 | Alien or Electrocute | Never park within 2,000 of the rig |
Surviving the Final Push to the Last Stop
The final push starts around the 100,000-mile mark and runs through two more boss fights, the Oil Rig detour, and the Last Stop finale. Spawn density is at its maximum here, and the last stop how to survive waves question is really a question of fuel, ammo, and wall HP budgeting. The rule of thumb from crews that have cleared the true ending: budget a large part of your resources for the Oil Rig approach, a moderate amount for the final boss arena, and a small amount as a reserve for the wave that fires when the finale cinematic triggers.
Resource budget for the final push
| Resource | Oil Rig approach | Final boss arena | Reserve |
|---|---|---|---|
| Fuel | 1 full tank | 0.5 tank | 0.5 tank |
| Ammo (rifle) | 60 rounds | 80 rounds | 40 rounds |
| Rockets | 4 | 6 | 2 |
| Wall panels | 4 | 4 | 2 |
| Trap charges | 6 | 4 | 2 |
| Sleeping bags | 1 | 1 | 1 |
Wave-by-wave survival plan
The final stretch are scripted, and the spawn sequence is consistent enough that you can plan for each wave in advance. Here is the run that experienced crews use on the September 2026 patch:
-
Mile 70,000 – 80,000 — Bandit gauntlet. Park the bus at a town, wall one side, and clear the bandits during their reload windows. Do not engage the military scouts unless you have at least 3 wall panels.
-
Mile 80,000 – 90,000 — Brute highway. Keep driving. Brute spawns here are nearly infinite, and the only way to break the loop is to clear the Stop 4 boss, which gates the next biome.
-
Mile 90,000 – 100,000 — Ocean approach. Switch to the Alien or Electrocute class, build a full wall-and-trap setup, and never park close to the Oil Rig trigger. The shark will spawn within about a minute of the trigger if the bus is parked.
-
Oil Rig trigger — Clear the UFO and the alien adds in one wave, then drive onto the rig trigger before the next wave fires. The rig is an extended safe zone, so use it to restock walls and reload.
-
Final boss arena — Wall the bus into a corner with 4 panels, drop 2 traps, and burst the boss with the Alien class ability. Save one sleeping bag for the post-fight wave that fires when the finale cinematic starts.
Common mistakes on the final push
The most common wipe at this stage is over-aggression on the Oil Rig approach. Crews that drive straight at the trigger without a full wall-and-trap setup lose the bus to a single shark hit, and the respawn puts them back at Stop 4 with no fuel. The second most common wipe is parking the bus to loot a rig corpse — the wave timer is a minute or more, and the corpse is rarely worth the wall HP. The third is using the last sleeping bag before the finale cinematic, which then drops an unblockable wave on the bus with no recovery option.
Frequently Asked Questions
How often do waves fire in Last Stop?
Waves fire on three timers: every 90 in-game seconds while the bus is parked at night, every 5,000 in-game miles on the highway, and every time a numbered checkpoint boss is triggered. The night timer is the one most new players miss, which is why experienced crews either keep driving or drop a sleeping bag to skip it entirely.
What is the best class for surviving waves?
The Alien class is the strongest wave-clear pick thanks to its built-in area burst, and wall traps do the rest of the work by ticking for modest damage. For solo players, a ranged starter class with a maxed rifle and a doorway-cheese loop is more sustainable than either, because it does not require a full bus upgrade to work.
Do enemies stop spawning after the final boss?
No — a final wave fires when the finale cinematic starts, which is why the reserve budget in the table above is non-negotiable. The post-finale wave is a mixed pack of brutes, military, and one elite spawn, and it hits the bus roughly a minute after the cinematic begins. Keep one wall panel and one trap up before you trigger the boss.
Can you skip waves with a sleeping bag?
Yes, and this is the single most efficient way to break the cadence. A sleeping bag skips the entire night-cycle wave and resets the timer, which is why crews carry at least three bags on the final push. The downside is that each bag is a one-time use, and the post-finale wave cannot be slept through, only survived.
What is the hardest wave in the game?
The Oil Rig approach is the hardest single wave because it stacks the shark, two alien grunts, and a UFO within an extended window. The wave is beatable with a full wall-and-trap setup and the Alien class, but undergeared crews will lose the bus to a single shark hit. The post-finale wave is more scripted and easier to read, so it ranks second.