
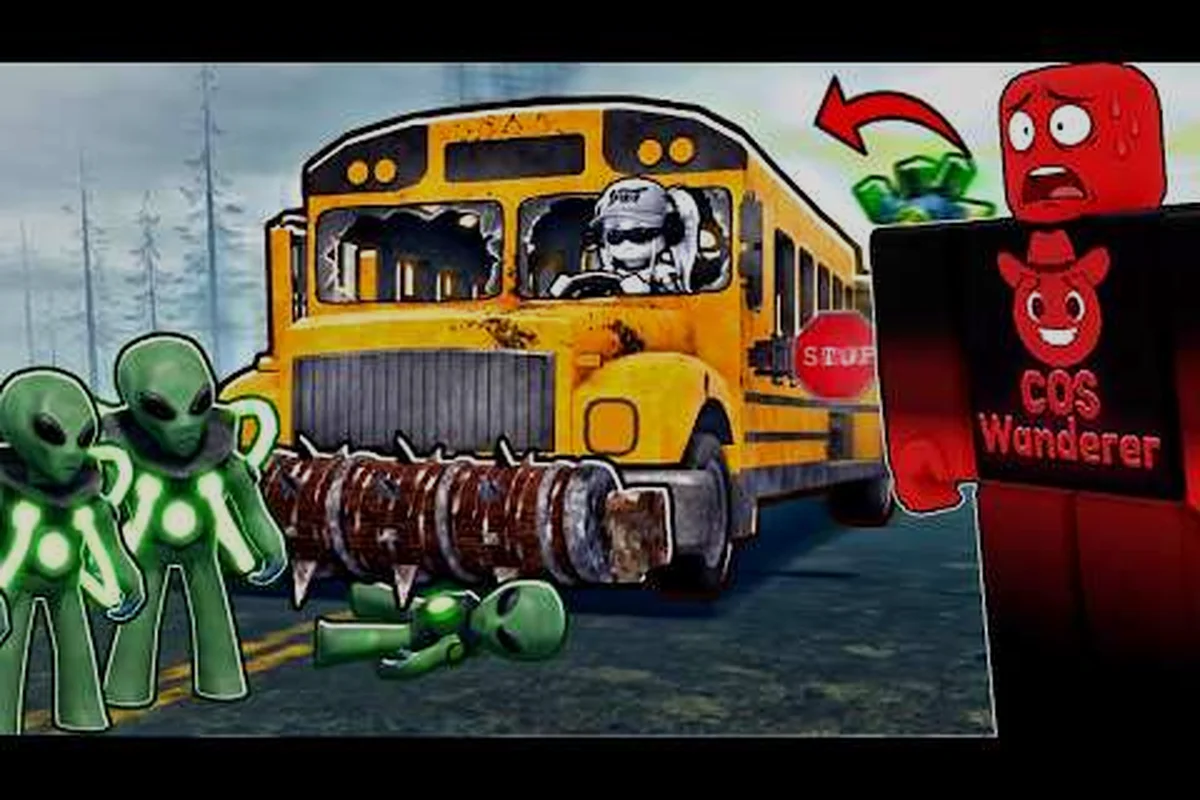
The Last Stop UFO is the airborne boss that punishes crews still camping doorway cheese against ground zombies, and the only reliable counter is a bus pre-wired with wall traps, ranged damage windows, and disciplined kiting space. Community runs show the alien strafing run only lasts a brief window before it climbs back above wall-trap reach, so the entire kill boils down to a tight burst window plus smart loot cleanup between passes. This guide breaks down the gear checks, the duo-versus-solo decision tree, and the micro-paths that keep a Last Stop UFO from splintering your build before the wave even peaks.
Last Stop UFO Boss Profile and Why Wall Traps Win
The UFO is the ranged-damage capstone of the Last Stop alien roster, and it sits at the top of every threat list because of two facts the community has been hammering since the August 2026 launch. First, its strafing beam clips bus seats and destroys placed builds in a single pass, so melee crews get deleted before they can swing. Second, it hovers above the height ceiling that ground enemies obey, which means the same doorway cheese that one-shots brute zombies simply does not connect. Players who try to brute-mirror the brute-zombie strat on a UFO end up feeding scrap and ammo, because the alien never has to step into a chokepoint.
The reason wall traps dominate the Last Stop UFO meta is geometry. Trap volume is the only damage source that reaches the UFO's hover altitude, and each trap ticks independently while the alien commits to a strafing run. A bus kitted with eight to twelve wall traps in a tight arc outputs more damage during a single strafe than any handheld gun, and it does so without exposing the player to the beam. The kill order across a typical wave looks like this: the UFO opens with a wide strafing pass to soften placed builds, locks onto the highest-damage player, and pulls up before a second pass to reset its beam. That six-second window is the entire damage race.
| Threat | Counter Window | Best Damage Source | Common Mistake |
|---|---|---|---|
| Brute Zombies | Doorway cheese | Melee swing | Overchasing the brute past the door |
| Bandits | Reload window | Mid-range gun | Standing still during their fire arc |
| Last Stop UFO | Strafe pass (long) | Wall trap arc | Building the bus too low to catch the hover |
Beyond the wall-trap answer, the UFO forces every crew to think about bus height and build order. A bus that sits at the default single-deck height cannot reach the UFO's hover ceiling with any placed trap, so crews who try to skip the upgrade phase will watch the alien pass over their entire trap field untouched. The community consensus, reported by players in the Last Stop Discord and mirrored across the HorrorJackStar boss showcase, is that an upgraded double-deck bus with trap arcs on both levels is the only sane foundation for a UFO-capable run.
Wall-Trap Setup, Bus Upgrades, and the damage Race
The wall-trap build is not just about slapping traps on every free face. The community-solved setup revolves around arc density, reload timing, and the few seconds of safe fire that the UFO gives you between passes. A typical UFO-capable bus runs three trap arcs that each cover roughly ninety degrees of the alien's strafe path, with the arcs tilted to overlap the UFO's hover band rather than ground level. That overlap is what turns eight traps into something that feels like a kill sphere, and it is the difference between a brief burst that chunks a third of the UFO's HP and one that barely scratches the hull.
Bus Build Order for UFO-Capable Runs
The build order that holds up against the Last Stop UFO looks like the table below, and every crew I've watched clear a UFO wave on Nightmare Mode has run this sequence in roughly the same order. Skipping any of the early upgrades is the most common reason a wall-trap arc fails to reach the hover band.
| Step | Build | Purpose | Cost Tier |
|---|---|---|---|
| 1 | Double-deck bus frame | Reaches UFO hover ceiling | Mid |
| 2 | Four corner walls | Trap mount points + cover | Mid |
| 3 | Wall-trap arc (8 traps) | Primary damage during strafe | High |
| 4 | Reinforced roof planks | Block overhead beam splash | Mid |
| 5 | Reserve ammo crate | Ranged backup between passes | Low |
Once the bus is kitted, the damage race against the UFO comes down to two numbers: the strafe window of a brief window and the trap tick rate which the community places at about one hit per second per active trap. A full eight-trap arc therefore lands roughly forty-eight damage ticks per pass, which according to community testing is enough to chunk about a third of the UFO's HP bar. Two clean passes plus a finisher burst from a ranged weapon is the standard kill, and crews that try to chase the UFO outside trap range are the ones who end up spending the next minute re-gearing from the bus's broken remains.
Ranged damage Windows Between Strafe Passes
Wall traps do most of the heavy lifting, but the small damage window between strafe passes is where solo crews either seal the kill or burn the run. The UFO climbs above trap reach and circles for roughly four to five seconds before re-engaging, and that gap is your only safe shot with a rifle or revolver. The trick is to pre-aim the spot where the UFO re-enters the trap arc rather than tracking it through the sky, because the alien's pull-up animation is locked to the same arc every pass. Solo players who hit this timing report finishing the UFO in two passes plus a clean finisher, while crews that panic-fire into the open sky usually blow their reserve ammo before the third pass even starts.
Duo Versus Solo Patterns Against the Last Stop UFO
The Last Stop UFO is one of the few enemies in the game where the duo-versus-solo decision is genuinely about who calls aggro, not who carries damage. A solo player has full control of the aggro swap, but also has nobody to cover the reload window. A duo has redundant fire and faster trap resets, but they have to split loot cleanly or one of them ends up starving on scrap halfway through the wave. The two patterns below are the ones the community has settled on, and they are worth memorizing before you queue into a Nightmare Mode server.
Solo Kill Pattern (Backpedal Kiting + Trap Reset)
The solo pattern is built around the backpedal kite that the community has been refining since the August beta. When the UFO locks on, you break line of sight behind a corner wall, fire one burst into the strafe arc, then backpedal along the bus edge to bait the UFO into a fresh trap line. The pattern is: bait, fire, backpedal, reset. Each cycle moves the UFO to a new trap arc, which is critical because the alien's beam destroys placed builds on contact, so you cannot let it lock onto the same arc twice in a row.
-
Bait the UFO into Arc A with a short peek from cover
-
Fire one magazine into the strafe arc during the long pass
-
Backpedal along the bus rail toward Arc B
-
Reset the cycle once Arc B catches aggro
A clean solo run takes about two strafe passes plus a finisher, and the entire pattern works only if your bus has overlapping trap arcs. Without overlap, the backpedal kite strands you in a dead zone where the UFO can drop its beam without any trap interference. Players who run this pattern on a single-deck bus report the UFO simply strafing over their heads, which is the most common solo wipe cause in the wave logs.
Duo Kill Pattern (Aggro Swap + Loot Handoff)
Duo crews solve the same problem by splitting the aggro instead of kiting it. Player one draws the UFO into Arc A while player two cleans the back-line zombies, then they swap on a fixed timer so the aggro target rotates every other strafe. The handoff is the entire trick, because the UFO re-locks almost instantly on whoever last damaged it, so the swap has to happen during the climb-out window when the alien is briefly un-tethered.
| Role | Strafe Pass 1 | Strafe Pass 2 | Loot Phase |
|---|---|---|---|
| Player 1 (damage) | Draw aggro, fire into Arc A | Cover fire from Arc B | Grab ranged ammo |
| Player 2 (Cleaner) | Clear zombie swarm | Draw aggro into Arc B | Sell corpses at trader |
The cleaner role is also where the duo pattern ties into the broader Last Stop economy. Selling zombie corpses between UFO passes is the fastest way to fund the next trap arc, and the sack-and-horse layers (covered in the zombie corpses and sack guide) let the cleaner run loot without ever leaving the bus's aggro bubble. A duo crew that runs this rotation cleanly usually clears the UFO and the supporting swarm inside a single wave, while a duo that ignores the loot handoff ends up out of ammo by the second strafe.
Zombies, Bandits, and the Swarm Around the UFO
The Last Stop UFO almost never arrives alone. Every community log of a UFO wave shows it paired with a Last Stop swarm of ground zombies, a few Last Stop bandits firing from cover, and on the longer routes a brute or two that have to be peeled off the bus before the crew can focus fire. The reason crews lose UFO fights is not the alien itself, it is the support enemies that chew through the trap arcs and the cover walls while the crew is busy tracking the strafe. The fix is to clear the swarm first, then let the UFO walk into a fresh trap line, rather than trying to fight both at once.
Bandits and the Reload Window
Last Stop bandits are the support enemy that punishes crews who ignore the mid-range. They fire in three-shot bursts, take cover for a brief window to reload, then pop back up to fire again, and the reload window is the entire damage window. A solo player who times a rifle shot into that cover break will one-cycle a bandit before the UFO's first strafe even starts, which keeps the mid-range clean enough to fire without eating return shots. Crews that try to face-tank the bandit fire while tracking the UFO end up taking chip damage that snowballs across the wave.
Swarm Aggro and the Horse Tame
The Last Stop swarm is mostly trash zombies, but the swarm's aggro is what makes the UFO dangerous. A swarm that catches a crew out of cover during a strafe pass will pull the player out from behind the trap arc, which forces the UFO to walk its beam across the trap wall instead of the player. The community's answer to this is to tame a Last Stop horse and use its aggro to peel the swarm off the crew. A horse that has been fed and bound to the bus will draw every zombie in the swarm away from the player, which keeps the trap arc clean for the UFO's next strafe.
Brute Zombies and the Doorway Cheese Fallback
The brute zombie is the one enemy that the doorway cheese still works on, and it is worth keeping the cheese spot intact as a fallback for the late wave. A brute that walks into a chokepoint while the UFO is climbing out of a strafe is a free kill, and the loot drop (reinforced plating, scrap bundles) is exactly what you need to repair the trap arcs the UFO just chewed through. Crews that lose the cheese spot to over-building usually end up scrambling for cover right as the third strafe pass starts, which is the most common wipe point in duo runs.
Pre-Flight Checklist and In-Wave Adjustments
The wall-trap bus and the duo-versus-solo pattern are the foundation, but the crews that actually clear UFO waves consistently are the ones who run a tight pre-flight checklist and adjust on the fly. The table below is the checklist that community-tested Nightmare Mode crews run before queuing into a UFO wave, and the same list works as a mid-wave reset if the first attempt falls apart. Every item on the list is the answer to a wipe the community has actually watched happen, which is why the order is the order.
| Checklist Item | Reason | Mid-Wave Fix |
|---|---|---|
| Double-deck bus frame | Reaches UFO hover ceiling | Cannot be fixed mid-wave, restart |
| Wall-trap arc with 8+ traps | Primary damage during strafe | Repair broken traps from loot |
| Reserve ammo crate | Ranged backup between passes | Sell corpses to fund reloads |
| Horse bound to bus | Peel swarm aggro off crew | Re-tame if horse dies |
| Doorway cheese spot intact | Brute zombie fallback | Clear built clutter blocking door |
| Ranged weapon equipped | Finisher burst between passes | Scavenge dropped bandit guns |
The in-wave fixes are where the checklist earns its keep. A trap arc that loses two traps to the UFO's first strafe is still recoverable, because the remaining six traps will chunk the alien's HP across the second pass as long as the crew repairs the wall plate and reroutes power. A horse that dies to the swarm is a more serious problem, because re-taming takes around a brief window and the swarm will flood the bus in that gap. The community answer is to bind a fresh horse as soon as the first one takes heavy damage, rather than waiting for the aggro peel to fail, which is the difference between a clean reset and a chain wipe.
For crews that are still building toward their first UFO clear, the broader Last Stop beginner guide covers the bus upgrade path and the loot economy that funds the trap arcs. The duo-versus-solo pattern above assumes the crew already has the bus kitted and the economy humming, so it pairs well with a fresh run that is just starting to farm the trader. The two guides together cover the full pre-flight, from a starter single-deck bus to a wall-trap UFO-capable build, which is the path most community-tested Nightmare Mode crews have actually walked.
Frequently Asked Questions
How do you actually beat a Last Stop UFO solo?
Solo players need a double-deck bus with at least eight wall traps arranged in overlapping arcs, plus a ranged weapon for the finisher burst. The pattern is bait the UFO into Arc A, fire one magazine into the strafe, then backpedal toward Arc B and reset the cycle. Two clean passes plus a finisher is the standard kill.
Do wall traps really outperform guns against the UFO?
Yes, because the UFO hovers above ground-reach and only commits to a roughly six-second strafe pass. Wall traps tick during the entire strafe, while a rifle only gets a few clean shots before the alien climbs out. A full trap arc lands about three times the damage of a single magazine during the same window.
What is the safest way to handle the bandit and swarm support?
Clear the Last Stop bandits during their reload window with a single mid-range burst, then tame a horse to peel the Last Stop swarm off the crew. A bound horse keeps the swarm out of the trap arc, which is the only way the UFO strafe stays clean across multiple passes.
Can the doorway cheese work on the UFO itself?
No, the UFO hovers above the doorway ceiling and never steps into a chokepoint. The doorway cheese is still useful as a fallback for brute zombies, but it does not connect with the alien. The wall-trap arc is the only consistent counter, which is why every community-tested UFO build starts with trap placement rather than melee cover.